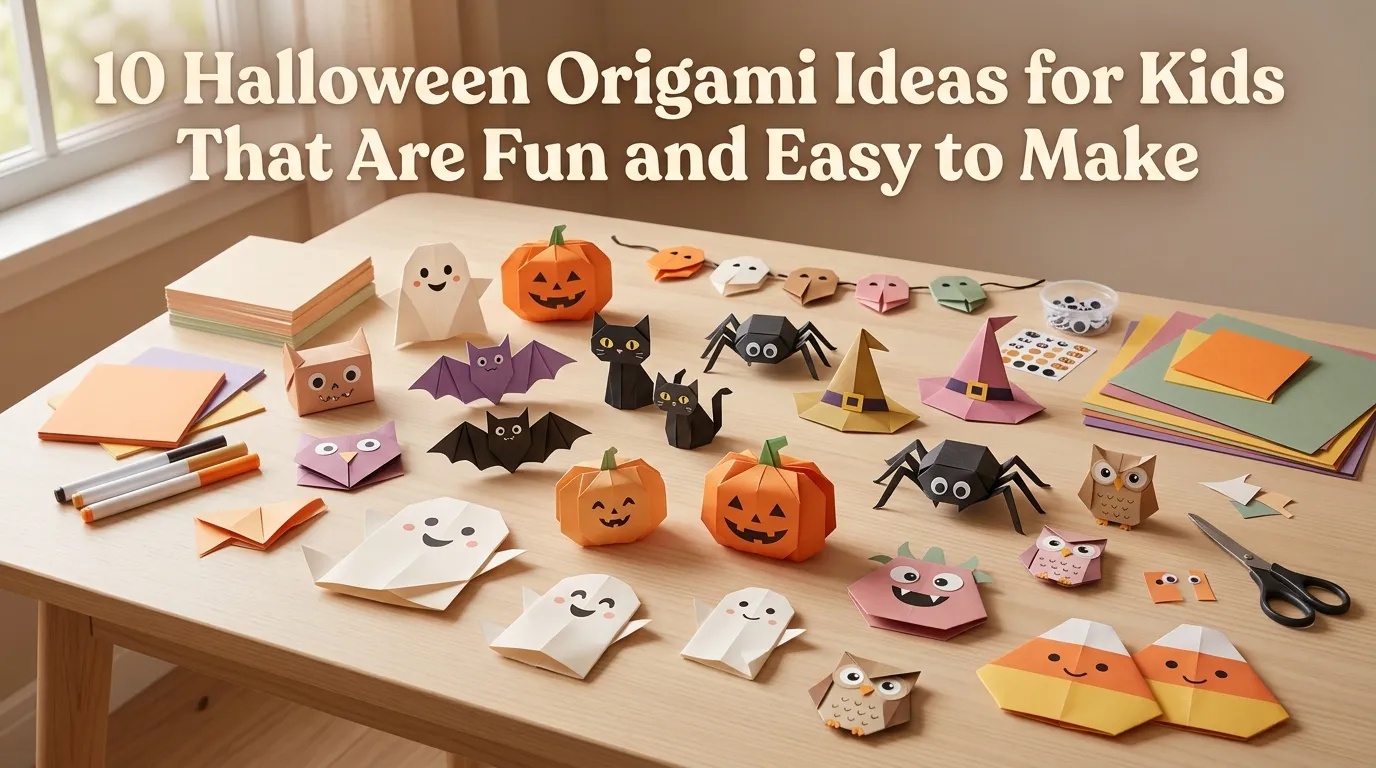
10 Halloween Origami Ideas for Kids That Are Fun and Easy to Make
Halloween crafts are a wonderful way to keep kids entertained while giving them something creative to make with their hands. Origami is especially appealing because it doesn’t require a long shopping list. With a few sheets of colorful paper and some basic craft supplies, children can turn simple squares of paper into bats, pumpkins, ghosts, cats, and other spooky decorations.
One of the best things about Halloween origami is how flexible it can be. Younger children can work with simple folds and decorate their finished creations with crayons or markers, while older kids can try more detailed designs and create entire Halloween scenes.
These projects also make great rainy-day activities during October. Finished origami pieces can become decorations for bedroom walls, classroom displays, Halloween cards, party favors, bookmarks, or garlands.
If you’re anything like me, the best kids’ crafts are the ones that are enjoyable to make but don’t leave the house covered in complicated supplies. That’s where paper folding really shines. You can set up a small craft table with Halloween-colored paper, markers, child-safe scissors, glue, and a few embellishments, then let the kids take over the creative part.
For very young children, an adult can help with difficult folds or cutting steps. Origami itself generally relies on folding rather than cutting, but some projects may use scissors or glue for decorating.
The following ideas range from cute and friendly to slightly spooky, making them suitable for different ages and Halloween styles. Choose traditional orange, black, and purple paper for a classic look, or use white, green, brown, and pastel shades for something a little different.
Whether you’re planning a Halloween classroom activity, an afternoon craft session, or a simple project for the weekend, these 10 Halloween origami ideas give kids plenty of ways to turn ordinary paper into festive creations.
Table of Contents
1. Folded Halloween Bats
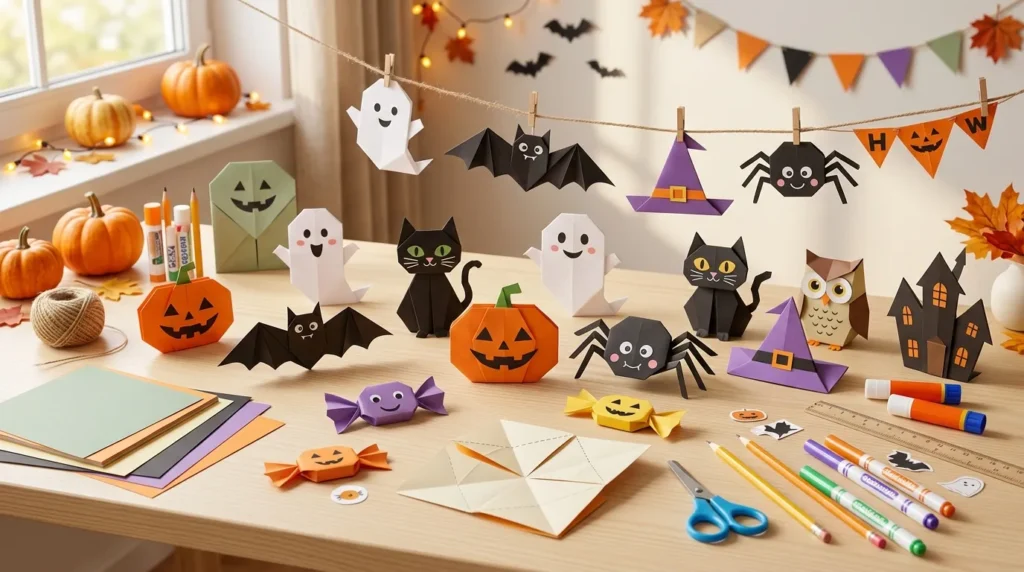
Create simple paper bats that can become wall decorations, garlands, or party accents.
2. Friendly Origami Ghosts
Make cute folded ghosts that are easy to personalize with funny or spooky faces.
3. Paper Pumpkin Faces
Turn orange origami paper into cheerful pumpkin decorations for Halloween.
4. Spooky Black Cats
Create folded black cats with pointy ears and expressive faces.
5. Halloween Owls
Use autumn colors and simple folds to make cute owl decorations.
6. Origami Witch Hats
Make tiny paper witch hats for decorations, pretend play, or party crafts.
7. Folded Frankenstein Faces
Transform green paper into friendly Frankenstein-inspired Halloween characters.
8. Origami Spiders
Create playful paper spiders that can be displayed around a Halloween craft area.
9. Halloween Monster Faces
Let kids design colorful folded monsters with their own imaginative expressions.
10. Halloween Paper Garland
Connect multiple origami creations into a festive decoration for a bedroom or party.
1. Folded Halloween Bats
Quick Benefits
- Easy to customize
- Uses inexpensive paper
- Works for several age groups
- Makes great wall decorations
- Encourages creative folding
Why It Works
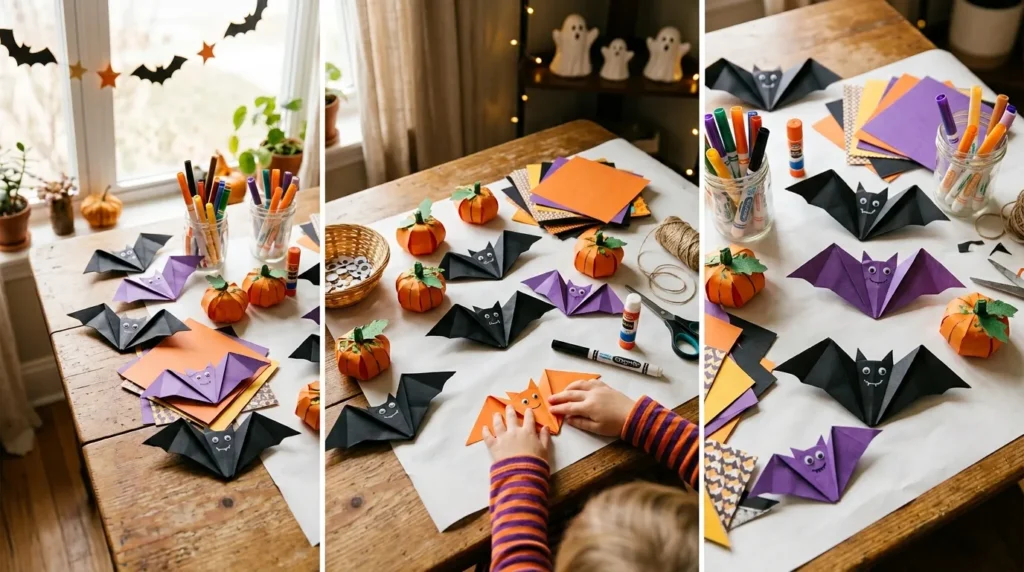
Bats are one of the easiest Halloween shapes for kids to recognize, which makes them a fun starting point for seasonal origami. A simple folded bat can look surprisingly detailed once the wings are shaped and the body is decorated.
Black paper creates the classic Halloween appearance, but kids can experiment with purple, dark blue, gray, or even patterned paper. This gives children an opportunity to make the craft their own rather than simply copying one finished design.
A collection of bats can also become more than individual crafts. Place several together and you’ve got the beginning of a Halloween wall display or garland.
How To Make And Style It
Start with a square sheet of origami paper. Follow a simple bat-folding pattern appropriate for the child’s age and folding ability.
Once the main shape is finished, gently shape the wing edges so they extend outward. Use a white or silver marker to add small eyes, fangs, or facial details.
For a bedroom display, attach finished bats to the wall using removable decorating materials appropriate for your wall surface.
Another fun option is to make bats in several sizes. Arrange the smallest ones near the largest to create the appearance of a group flying across a wall.
For younger children, an adult can complete the more difficult folds while the child handles the decorating.
2. Friendly Origami Ghosts
Quick Benefits
- Simple Halloween theme
- Easy to decorate
- Great for younger children
- Requires very few materials
- Works well for cards and displays
Why It Works
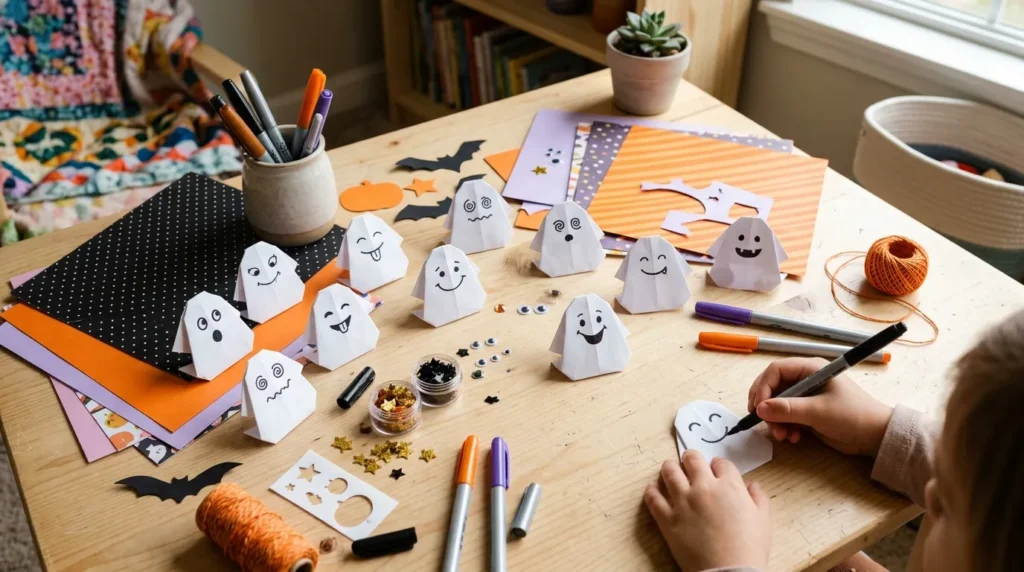
Ghosts are perfect for kids because the basic shape doesn’t need to look perfectly realistic. A slightly uneven fold can actually make the finished character look more playful.
White paper creates a classic ghost, while pale gray, lavender, or light blue can create a softer interpretation. Children can then give each ghost a different expression.
This project is also a great opportunity to talk about emotions and facial expressions. One ghost can look happy, another surprised, and another sleepy or silly.
How To Make And Style It
Use a square piece of white origami paper and follow a simple ghost folding pattern.
After folding, use a black marker to add eyes and a mouth. Kids can create round eyes, sleepy eyes, surprised expressions, or goofy smiles.
Add tiny paper bows, hats, or other decorations if desired.
For a Halloween party, several finished ghosts can be attached to string to create a simple hanging decoration.
You can also glue one finished ghost onto cardstock to make a handmade Halloween greeting card.
Keep the design simple for younger children and let older kids experiment with layered facial details.
3. Paper Pumpkin Faces
Quick Benefits
- Perfect for Halloween
- Uses bright colors
- Encourages face design
- Works for decorations
- Easy to personalize
Why It Works
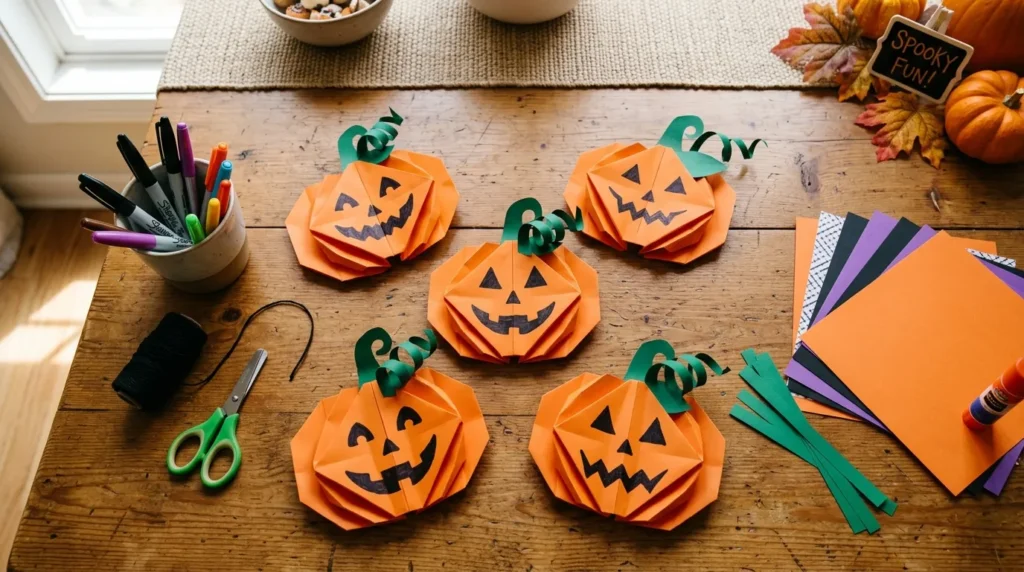
Pumpkins are a Halloween favorite, and an origami pumpkin gives children a blank canvas for creating their own jack-o’-lantern faces.
Orange origami paper works naturally, but yellow-orange, pale orange, or even white paper can create interesting variations.
The most enjoyable part may be decorating the face. Kids can create traditional triangular eyes or invent completely new expressions.
Because every pumpkin can have a different personality, this project works especially well when several children are crafting together.
How To Make And Style It
Fold a square sheet of orange paper into a basic pumpkin-inspired shape.
Use a black marker to add the face after the folding is complete.
Try different combinations:
- Triangle eyes
- Curved smiles
- Tiny fangs
- Round surprised eyes
- Zigzag mouths
Add a small green paper stem at the top if desired.
For a classroom display, arrange the finished pumpkins in rows or create a large pumpkin patch on a bulletin board.
For a home craft area, place them inside a clear bowl or basket for a colorful Halloween centerpiece.
4. Spooky Black Cats
Quick Benefits
- Uses simple shapes
- Great for Halloween decor
- Encourages drawing skills
- Works with many paper colors
- Suitable for imaginative play
Why It Works
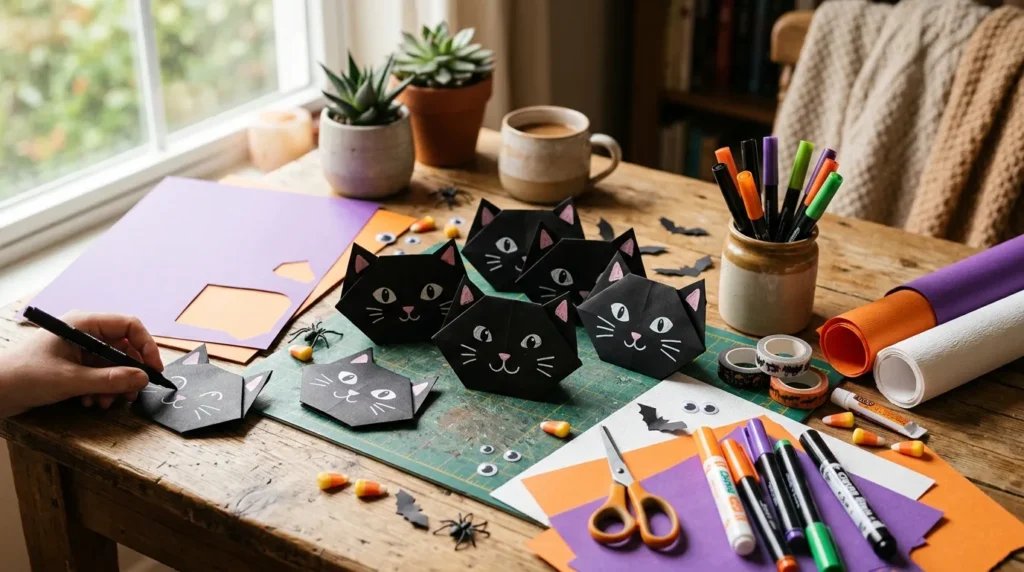
Black cats have long been associated with Halloween, making them an obvious choice for an October craft session. Their recognizable pointy ears and simple face make them especially fun for children to decorate.
Black paper provides a traditional look, but kids can create orange, purple, gray, or patterned cats too.
The finished cats can be displayed individually or grouped together to create a little Halloween cat family.
How To Make And Style It
Use black square origami paper and follow a basic cat-face folding pattern.
Once the shape is complete, add eyes, whiskers, a nose, and a mouth using markers.
White, yellow, silver, or light-colored pens tend to stand out well against dark paper.
Children can also give each cat a personality by adding different expressions.
For a fun display, make cats with different ear positions and facial expressions.
You can glue the finished faces onto cardstock and turn them into Halloween cards, gift tags, or simple decorations.
5. Halloween Owls
Quick Benefits
- Combines Halloween and fall themes
- Uses colorful paper
- Encourages pattern experimentation
- Works for seasonal displays
- Suitable for different ages
Why It Works
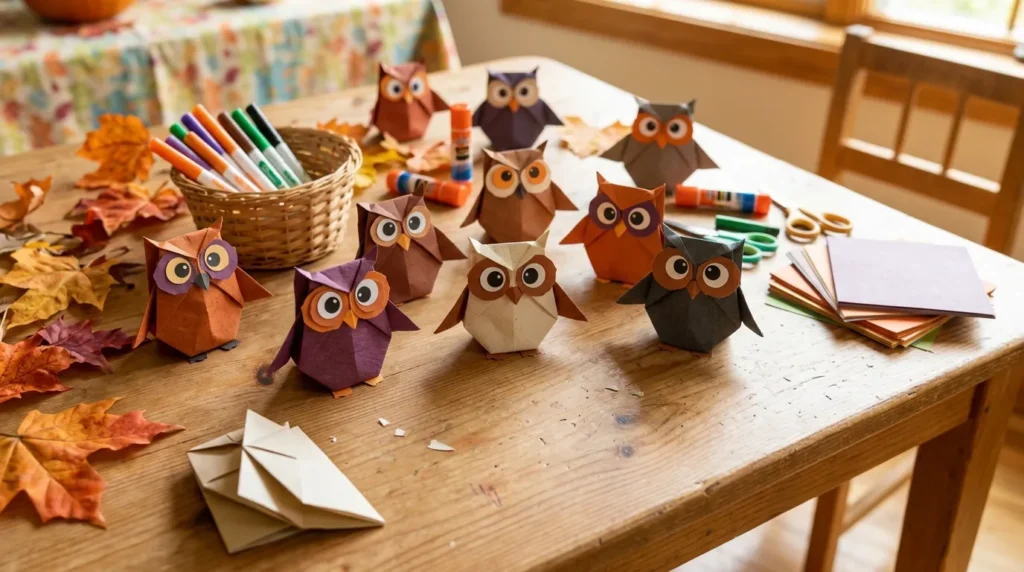
Owls fit naturally into Halloween decorating because they have a mysterious nighttime quality while still being cute enough for children.
They also provide more freedom with color. Brown, gray, black, orange, cream, and purple can all work beautifully.
An origami owl can become part of a larger woodland-themed Halloween display featuring bats, pumpkins, leaves, and moons.
How To Make And Style It
Start with a square piece of origami paper and fold it into a basic owl shape.
Add large circular eyes with markers or small paper circles.
For a Halloween version, use orange or purple paper and add tiny black details.
Older children can create patterned wings using colored pencils or markers.
Make several owls in different sizes and arrange them around a paper moon for a nighttime Halloween scene.
This idea is especially attractive for children who prefer cute Halloween crafts rather than scary ones.
6. Origami Witch Hats
Quick Benefits
- Fun Halloween symbol
- Easy to customize
- Works as a decoration
- Great for pretend play
- Can be made in multiple sizes
Why It Works
A witch hat instantly communicates Halloween, and paper versions can be used in many creative ways.
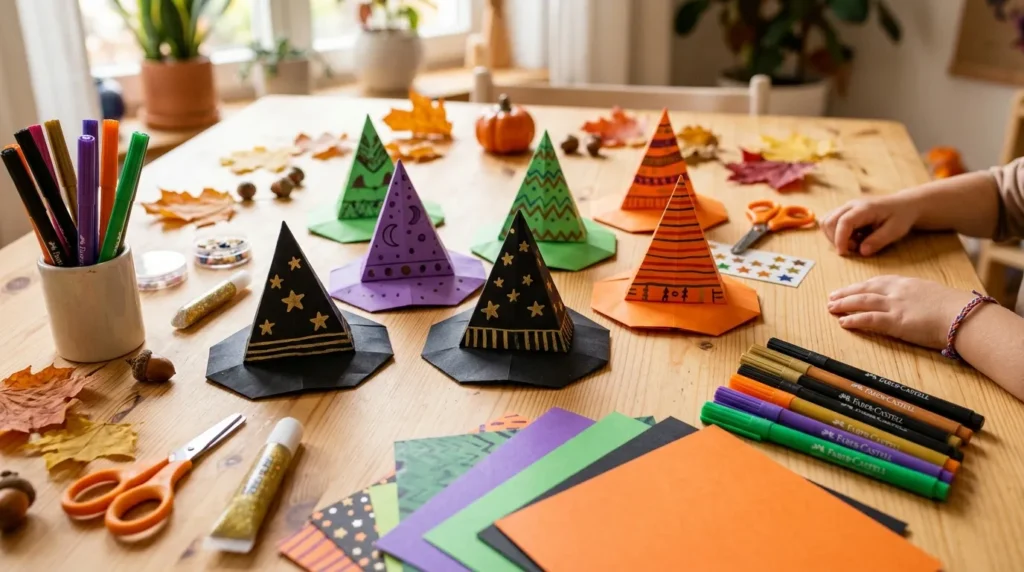
Kids can make tiny hats for paper characters, larger hats for decorations, or several small ones to create a Halloween table display.
Purple and black are classic choices, but orange, green, silver, and patterned paper can make the hats more playful.
How To Make And Style It
Use a square sheet of paper and follow a basic cone-style origami folding technique.
Once the hat shape is complete, decorate it with a contrasting band.
Add stars, moons, stripes, or small dots with markers.
For a more dimensional display, make several hats in different sizes.
You can also place small folded hats on top of paper pumpkins, ghosts, or cats.
If children are using glue or scissors for additional decorations, supervise younger kids and use age-appropriate supplies.
7. Folded Frankenstein Faces
Quick Benefits
- Encourages creative character design
- Uses bold Halloween colors
- Easy to personalize
- Great for classroom crafts
- Works well as wall art
Why It Works
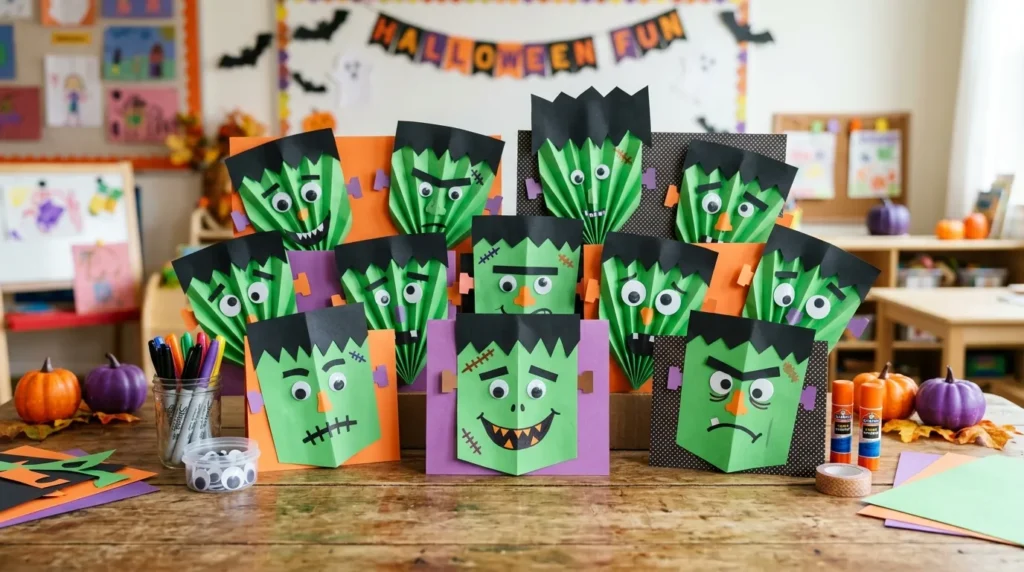
A Frankenstein-inspired face gives children plenty of opportunities to experiment with facial features. Green paper provides the recognizable base, while black hair and colorful details bring the character to life.
This craft can be spooky, funny, or completely silly depending on how children decorate it.
Instead of aiming for a perfect movie-inspired character, encourage kids to create their own friendly monster.
How To Make And Style It
Use green origami paper and fold it into a basic face shape.
Add black hair along the top with a marker or small pieces of paper.
Draw eyes, eyebrows, a nose, and a mouth.
Kids can add stitches, bolts, freckles, glasses, or funny expressions.
For a classroom display, place each child’s Frankenstein face on a black or orange background.
A collection of different faces can create a fun Halloween character wall.
8. Origami Spiders
Quick Benefits
- Great for Halloween decorations
- Encourages counting
- Works with black paper
- Can be made in groups
- Adds a playful spooky touch
Why It Works
Spiders can look intimidating, but a paper version can be surprisingly cute. They’re also useful for teaching younger children about counting because the finished craft naturally includes multiple legs.
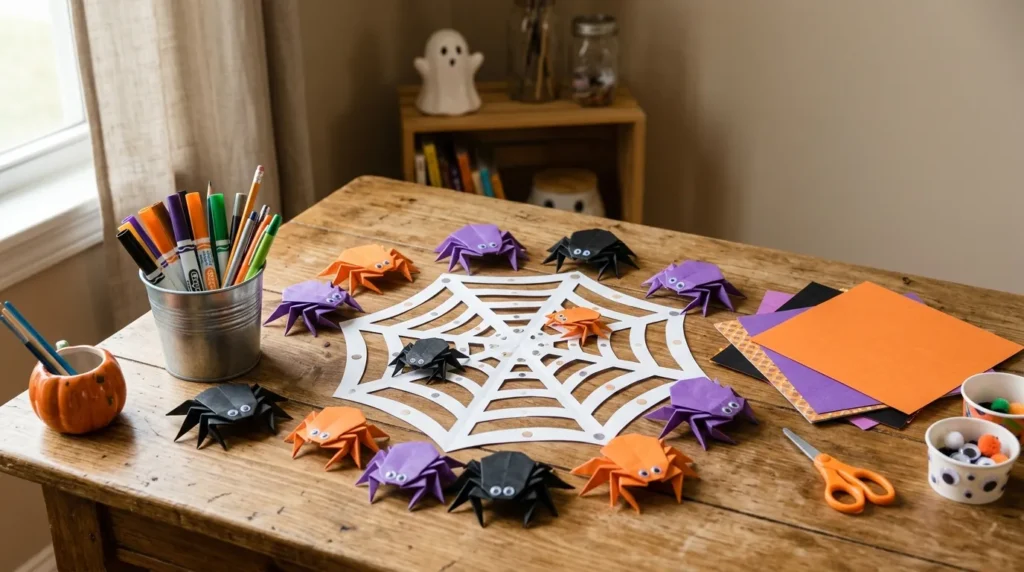
Black paper creates a classic Halloween appearance, while purple, orange, or metallic paper can make the spiders more playful.
Several small spiders arranged together can create a fun Halloween scene without requiring expensive decorations.
How To Make And Style It
Fold the body using a simple spider origami pattern.
If the design requires paper strips or cutting for the legs, use child-safe scissors and provide age-appropriate supervision.
Add small eyes to create a friendly expression.
For a Halloween display, attach the finished spiders around a paper web or place them near folded bats and ghosts.
You can also make spiders in several colors and sizes for a more whimsical look.
9. Halloween Monster Faces
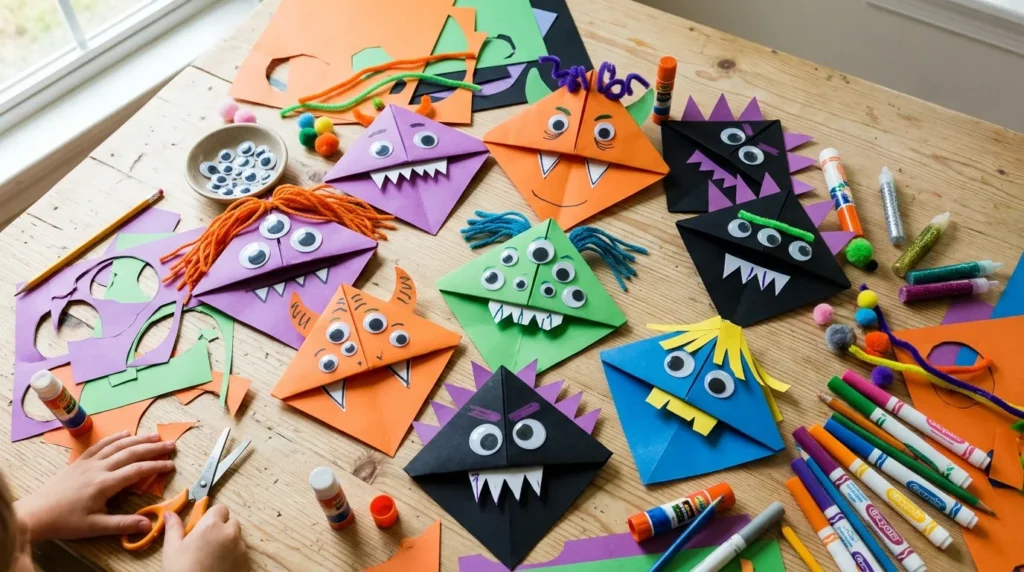
Quick Benefits
- Encourages imagination
- Allows unlimited designs
- Works for different ages
- Uses colorful paper
- Makes every craft unique
Why It Works
Monster crafts give children permission to ignore the usual rules. A monster can have three eyes, enormous ears, tiny teeth, bright green skin, purple hair, or almost anything else a child imagines.
This makes the project especially useful for creative play because there isn’t one correct finished result.
Instead of following an exact appearance, kids can use a basic folded face as a starting point.
How To Make And Style It
Fold a simple square-paper face shape.
Then provide markers, crayons, and small paper pieces for decorating.
Encourage children to experiment with:
- Multiple eyes
- Funny teeth
- Curly hair
- Pointy ears
- Different skin colors
- Silly expressions
Create a name for each monster and write it beneath the finished craft.
For a group activity, display all the monsters together on a large sheet of black or orange poster paper.
10. Halloween Paper Garland
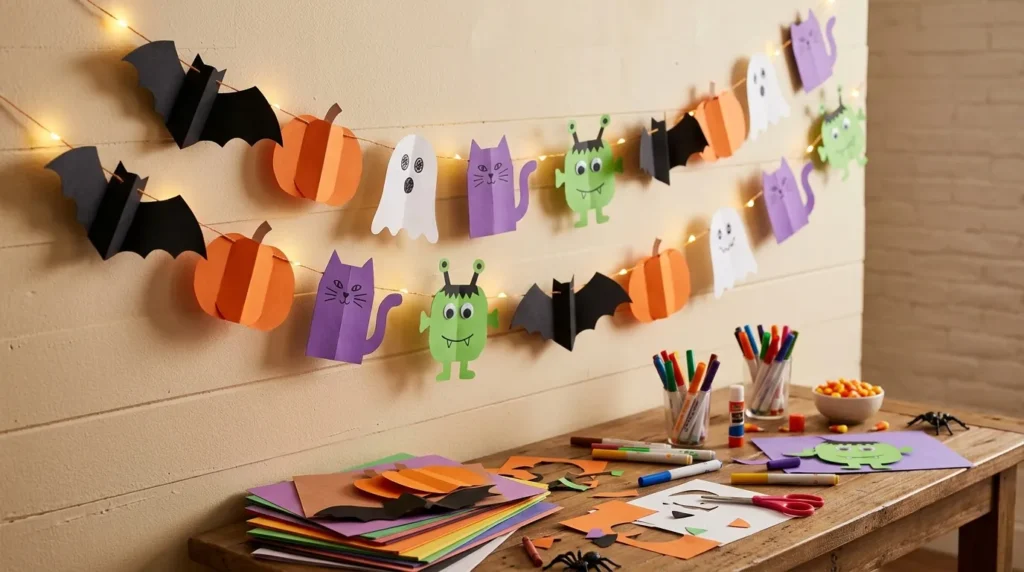
Quick Benefits
- Combines multiple crafts
- Creates reusable decorations
- Great for parties
- Encourages teamwork
- Makes a larger visual display
Why It Works
A garland turns individual origami projects into one larger Halloween decoration.
This idea is especially useful after children have made several different shapes. Instead of putting each craft away separately, connect them into a themed display.
A garland can include bats, ghosts, pumpkins, cats, owls, or monsters. Mixing different shapes keeps the arrangement visually interesting.
How To Make And Style It
Choose several completed origami designs.
Arrange them in a repeating pattern, such as:
Bat → Pumpkin → Ghost → Cat → Bat → Pumpkin → Ghost → Cat
Attach the pieces to string or ribbon using a method appropriate for the materials and the child’s age.
Leave enough space between pieces so each design remains visible.
Hang the finished garland across a bedroom wall, craft area, classroom bulletin board, or party space.
For a cohesive look, use a limited paper palette such as black, orange, purple, white, and green.
If you’re making the garland with young children, adults should handle any sharp tools or difficult attachment steps.
Frequently Asked Questions
What is the easiest Halloween origami for kids?
Simple ghosts, pumpkins, cats, and bats are good starting points because their basic shapes are easy for children to recognize and decorate. Choose designs that match the child’s age and folding ability, and allow younger children to focus on decorating while an adult assists with more complicated folds.
What paper is best for Halloween origami?
Standard origami paper works well because it is lightweight and designed for folding. Construction paper can also work for some projects, although it may be thicker and harder to fold into detailed shapes. Orange, black, purple, white, green, brown, and gray create an easy Halloween color palette.
What age can kids start origami?
Children can begin with simple paper-folding activities when they are able to follow basic instructions and make controlled folds. Younger children may need adult assistance, while elementary-age children can often handle increasingly detailed designs. Choose projects based on the child’s individual coordination and attention span.
Can Halloween origami be used as decorations?
Absolutely. Finished origami can become wall art, garlands, table decorations, greeting cards, gift tags, or classroom displays. Making several pieces in a coordinated color palette can turn individual crafts into a larger Halloween decoration.
How can I make Halloween origami more fun for kids?
Let children personalize the finished pieces rather than requiring them to look identical. Provide markers, crayons, stickers, and appropriately sized paper decorations. Kids can give monsters different expressions, create pumpkin faces, or invent personalities for cats and ghosts.
Is origami good for children?
Paper folding can provide an enjoyable opportunity to practice following sequences, hand-eye coordination, attention, and fine motor skills. The activity is also open-ended, so children can combine folding with drawing and storytelling to create a broader creative project.
How can I organize a Halloween origami craft station?
Place square paper in several Halloween colors on one side of the table and markers, crayons, stickers, and other decorating supplies on the other. Keep a few finished examples nearby for inspiration. For younger children, prepare the paper and demonstrate one fold at a time rather than presenting a long list of instructions at once.
Conclusion
Halloween origami is a simple way to turn a few sheets of paper into an afternoon of creative fun. Kids can make spooky bats, friendly ghosts, colorful pumpkins, black cats, funny monsters, and plenty of other seasonal characters without needing a complicated collection of craft supplies.
The beauty of these projects is that there doesn’t have to be one perfect result. A slightly crooked ghost can look charming, and a monster with three eyes may be far more memorable than a perfectly symmetrical one.
Start with the easiest design for your child’s age and gradually introduce more detailed folds as their confidence grows. Let them choose their own paper colors and decorate the finished pieces with imaginative faces and patterns.
You can also turn several individual projects into a larger Halloween display. A collection of folded bats can fly across a bedroom wall, while ghosts and pumpkins can become a festive garland.
For younger children, provide help with complicated folds and supervise any use of scissors, glue, or small decorative pieces. Older kids can experiment with their own variations and even design original Halloween characters.
The goal isn’t simply to make decorations. It’s to give children a chance to create, experiment, and enjoy the process. With a stack of colorful paper and a little imagination, Halloween crafting can become one of the simplest activities of the season.
Related Articles
- 10 Easy Halloween Crafts for Kids
- 12 Halloween Paper Crafts Kids Can Make
- 10 Halloween Crafts for a Classroom Party
- 15 Easy Fall Crafts for Kids
- 10 DIY Halloween Decorations for Kids