

10 Bathroom Cleaning Hacks That Actually Save Time
Bathroom cleaning has a reputation for being the most dreaded chore on the weekly list, and in my experience, that reputation is mostly earned by inefficient methods rather than the task itself being especially hard. Soap scum, hard water spots, and grout stains all respond well to the right approach — the problem is that most people are still scrubbing with methods that take three times longer than they need to.
If you’re anything like me, you’ve probably had a Sunday afternoon disappear entirely into bathroom cleaning, only to look around afterward and wonder why it took so long for a room that’s usually one of the smallest in the house. A mistake many people make is scrubbing surfaces the moment they apply a cleaning product, when in reality, most of the actual cleaning work happens during the time a product is left to sit and break down grime on its own.
That’s why many cleaning experts recommend a “spray first, clean last” approach — treating every surface with the right product before starting any scrubbing, so that by the time you circle back, the chemistry has already done most of the hard work for you. I’ve noticed that the difference between a bathroom that takes forty-five minutes to clean and one that takes fifteen almost always comes down to this single shift in order of operations, rather than any special tool or product.
In this guide, I’m sharing ten bathroom cleaning hacks that genuinely cut down on time and effort, covering everything from stubborn grout to streaky mirrors and hard water buildup. Each hack includes the specific method and reasoning behind it, so you’re not just following a tip blindly but actually understanding why it works.
Table of Contents

- Spray-and-Walk-Away Method A sequencing trick that lets cleaning products do the work.
- Dryer Sheet Soap Scum Trick A surprising household item for cutting through residue.
- Vinegar Steam Showerhead Soak A no-scrub method for clearing mineral buildup.
- Baking Soda Paste for Grout A gentle, effective solution for discolored grout lines.
- Squeegee Habit for Glass Doors A daily habit that prevents buildup before it starts.
- Toilet Bomb Fizz Method A hands-off approach to bowl staining.
- Microfiber Dusting Before Wet Cleaning A dry-first step that improves every wet clean after it.
- Hydrogen Peroxide Grout Whitening A brightening trick for stubborn discoloration.
- Ceiling Fan and Vent Reset An often-skipped step that improves air quality and cleanliness.
- Weekly Micro-Clean Routine A maintenance habit that prevents deep cleans from piling up.
1. Spray-and-Walk-Away Method
Quick Benefits
- Reduces overall scrubbing time significantly
- Lets cleaning chemistry do the heavy lifting
- Works on nearly every bathroom surface
- Simple reordering of an existing routine
- No new products or tools required
Why It Works
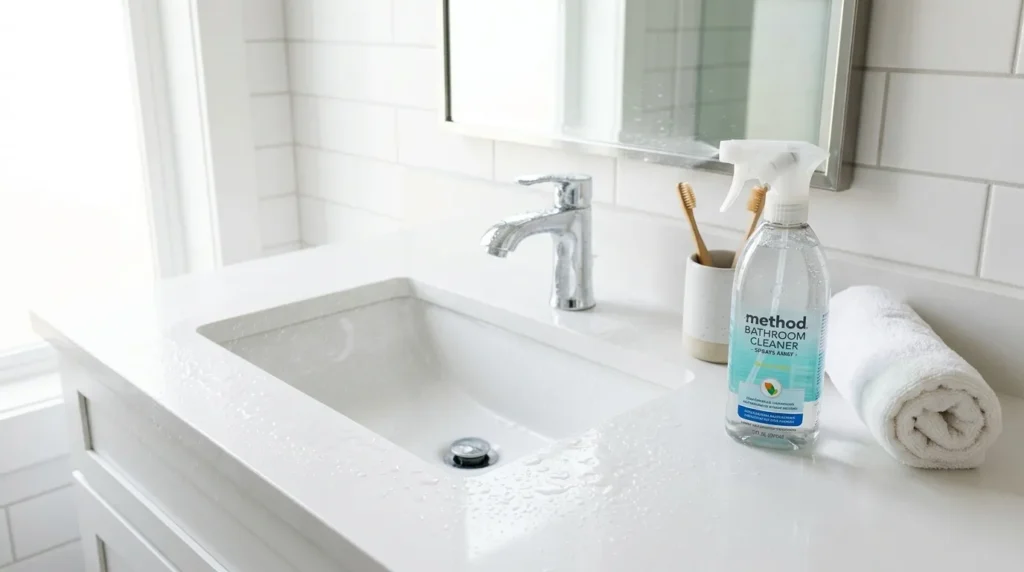
The spray-and-walk-away method is less about a specific product and more about sequencing — applying cleaner to every surface in the bathroom first, then coming back to actually wipe and scrub once the product has had time to break things down. In my experience, this single change in order of operations saves more time than any individual product or tool, since it means you’re never standing in one spot scrubbing against fresh, unbroken grime. That’s why many cleaning experts recommend treating this as the very first step of any bathroom cleaning session, before touching a sponge or cloth at all.
How To Do It
Spray the toilet bowl, tub or shower, sink, and counters with their appropriate cleaners all at once, working around the room in a logical order rather than cleaning one surface completely before moving to the next. Let everything sit for the amount of time recommended on the product label, typically five to ten minutes, while you handle a separate task like dusting or restocking supplies. By the time you return to actually wipe and scrub, most surfaces will require noticeably less effort than they would have straight out of the bottle.
2. Dryer Sheet Soap Scum Trick
Quick Benefits
- Uses an item already in most households
- Cuts through soap scum with minimal scrubbing
- Gentle on most bathroom surfaces
- Budget-friendly alternative to specialty cleaners
- Leaves a light, pleasant residual scent
Why It Works
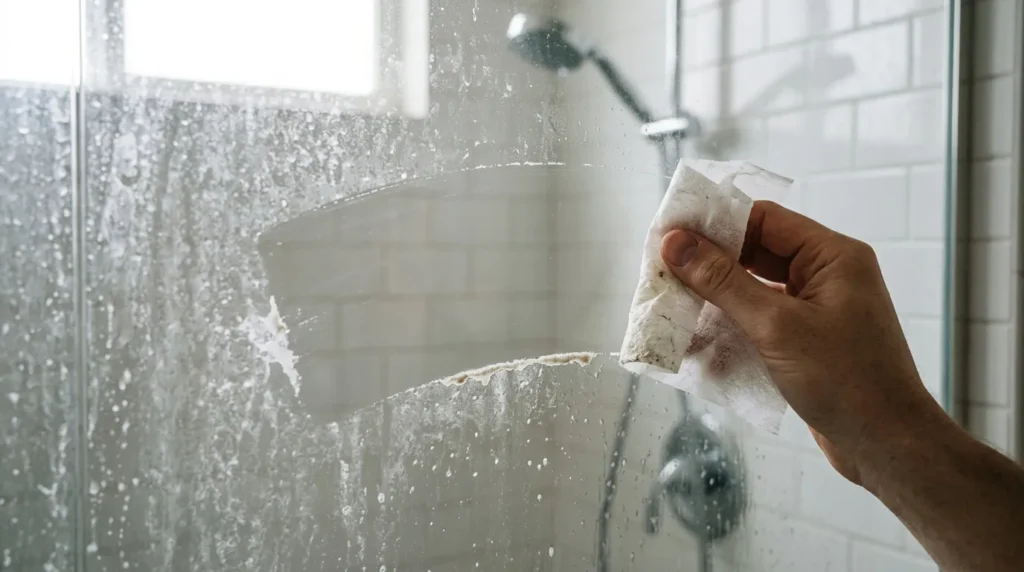
Used dryer sheets have a slightly abrasive texture combined with a residual coating from the fabric softener that helps break down and lift soap scum from shower doors, tile, and fixtures with far less scrubbing effort than a standard sponge alone. I’ve seen this hack surprise a lot of people specifically because it repurposes something usually thrown away, turning a household item most people already have on hand into a genuinely effective bathroom cleaning tool.
How To Do It
Use a dryer sheet, either fresh or already used from a laundry load, to wipe down glass shower doors, chrome fixtures, or tile with visible soap scum buildup. Dampen the dryer sheet slightly for tougher buildup, or use it dry for lighter, more frequent maintenance wiping. One simple trick I always suggest is keeping a small stash of used dryer sheets in a bathroom drawer specifically for this purpose, so they’re on hand next time a quick wipe-down is needed rather than a full cleaning session.
3. Vinegar Steam Showerhead Soak
Quick Benefits
- Clears mineral buildup without scrubbing
- Uses a common household ingredient
- Restores water pressure in clogged showerheads
- Works on both fixed and handheld showerheads
- Simple, mostly hands-off process
Why It Works
Hard water mineral deposits are one of the most common causes of reduced showerhead pressure and visible white buildup around the nozzle, and vinegar’s acidity is specifically effective at breaking down those mineral deposits without requiring any scrubbing at all. That’s why many cleaning experts recommend this soak method over physically scraping at a showerhead, since scraping can scratch the finish while the vinegar soak dissolves the buildup from the inside of each individual nozzle opening.
How To Do It
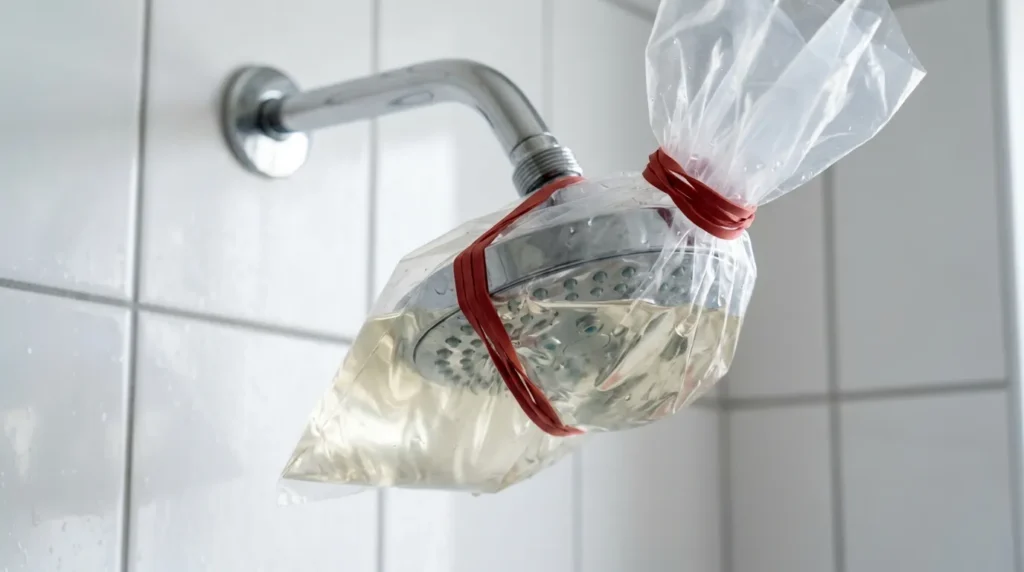
Fill a plastic bag with plain white vinegar and secure it around the showerhead using a rubber band, ensuring the nozzle is fully submerged in the vinegar. Let it soak for at least thirty minutes, or up to a few hours for heavily clogged showerheads, then remove the bag and run hot water through the showerhead for a minute to flush out any loosened mineral debris. A soft toothbrush can be used afterward for any remaining stubborn spots, though most buildup should release with the soak alone.
4. Baking Soda Paste for Grout
Quick Benefits
- Gentle enough for regular grout maintenance
- Effective at lifting discoloration
- Uses inexpensive, non-toxic ingredients
- Works without harsh chemical fumes
- Simple to make with items already on hand
Why It Works
Baking soda’s mild abrasive quality makes it particularly effective at lifting the surface-level grime and discoloration that builds up in grout lines over time, without being harsh enough to damage the grout itself the way some stronger chemical cleaners can with repeated use. In my experience, this is one of the gentlest genuinely effective grout cleaning methods available, which matters since grout is porous and can be damaged by overly aggressive scrubbing or acidic products used too frequently.
How To Do It
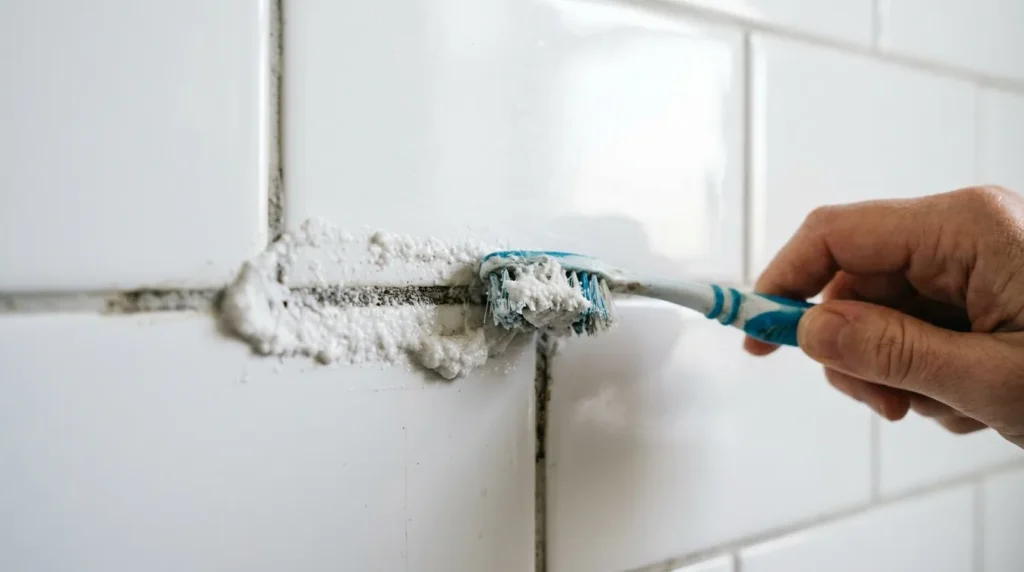
Mix baking soda with a small amount of water to form a thick paste, then apply it directly along grout lines using an old toothbrush or a dedicated grout brush. Let the paste sit for ten to fifteen minutes before scrubbing in small circular motions, then rinse thoroughly with warm water. For particularly stubborn stains, a small amount of hydrogen peroxide added to the baking soda paste boosts the whitening effect, which pairs well with the dedicated hydrogen peroxide method covered later in this list for more significant discoloration.
5. Squeegee Habit for Glass Doors
Quick Benefits
- Prevents water spots before they form
- Reduces soap scum buildup over time
- Takes less than thirty seconds per use
- Extends time between deep cleanings
- Simple habit rather than a cleaning session
Why It Works
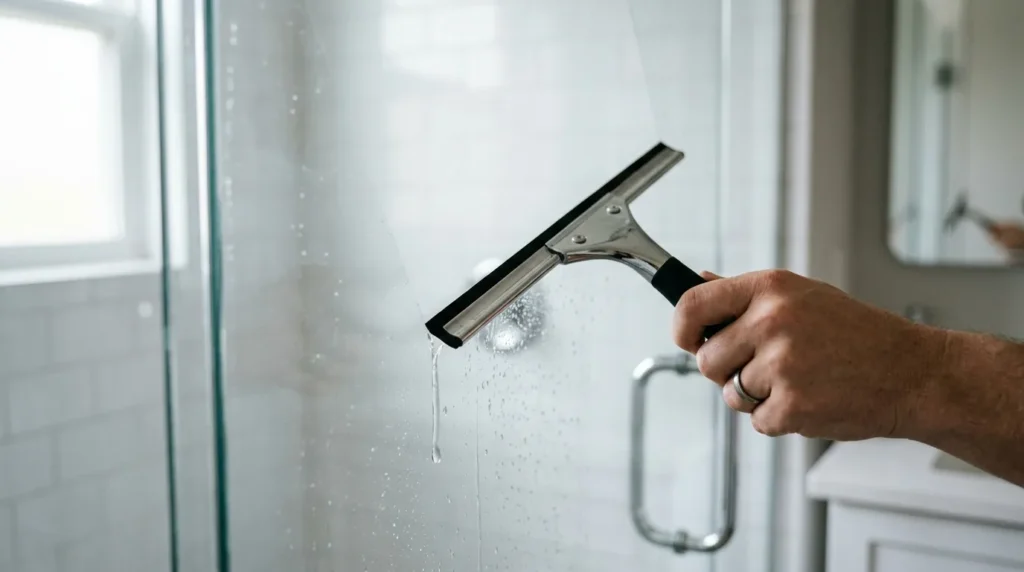
A squeegee used immediately after every shower removes standing water before it has a chance to evaporate and leave behind the mineral deposits and soap residue that eventually turn into visible water spots and scum buildup. That’s why many cleaning experts consider this less of a cleaning hack and more of a genuine habit shift — the squeegee itself takes only seconds to use, but consistently using it after every shower dramatically reduces how often a full glass door cleaning session is even necessary in the first place.
How To Do It
Keep a squeegee hanging within reach of the shower, and get in the habit of running it across the glass door or walls immediately after each shower, working from top to bottom in overlapping strokes. This takes roughly twenty to thirty seconds once it becomes routine, and it’s most effective when done consistently by everyone in the household rather than occasionally. Pair this daily habit with an occasional deeper clean using the baking soda paste or dryer sheet method for any buildup that accumulates despite regular squeegee use.
6. Toilet Bomb Fizz Method
Quick Benefits
- Hands-off cleaning while you handle other tasks
- Effective against ring staining
- Simple two-ingredient DIY option available
- Works well combined with a toilet brush finish
- Minimal scrubbing required
Why It Works
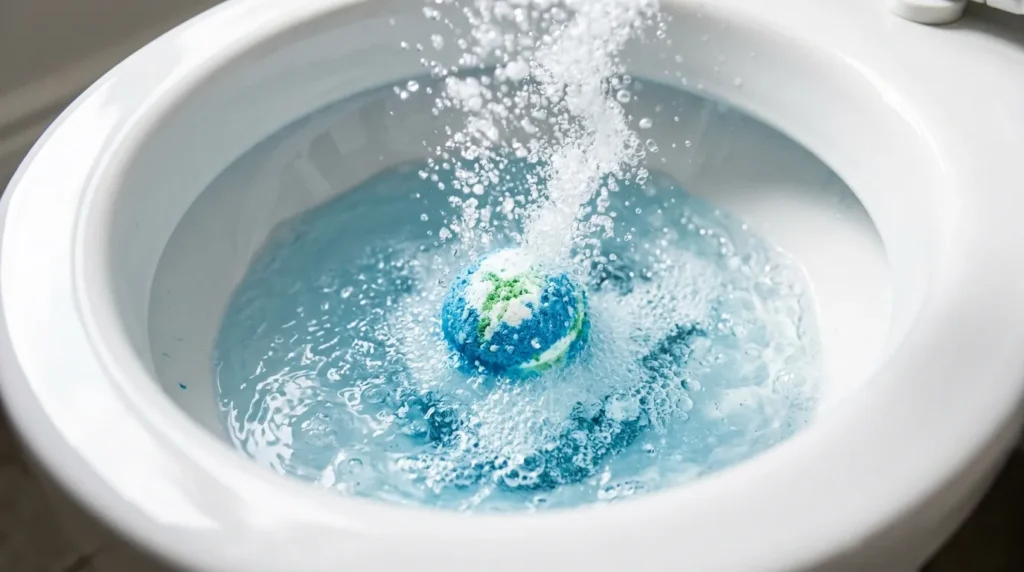
A fizzing toilet bomb, whether store-bought or made from a simple baking soda and citric acid combination, releases its cleaning agents gradually as it dissolves, allowing the ingredients to work against ring staining and buildup at the waterline for several minutes without any scrubbing required. I’ve noticed this method works particularly well as part of the spray-and-walk-away sequencing covered in the first hack — dropping a bomb into the bowl at the very start of a cleaning session means it’s already doing its work while you handle the rest of the bathroom.
How To Do It
Drop a toilet cleaning bomb into the bowl at the start of your cleaning routine, and let it fully dissolve and fizz for several minutes while attending to other surfaces in the bathroom. Once the fizzing has stopped, a quick pass with a toilet brush is typically all that’s needed to finish clearing any remaining residue, particularly around the waterline where ring staining tends to concentrate. This method is especially useful for toilets that have gone a bit longer than usual between cleanings, since the extended contact time helps loosen more stubborn buildup than a quick brush alone would address.
7. Microfiber Dusting Before Wet Cleaning
Quick Benefits
- Prevents dust from turning into grime once wet
- Improves the effectiveness of wet cleaning steps
- Quick, simple first step
- Reduces streaking on mirrors and fixtures
- Uses a tool that’s reusable and washable
Why It Works
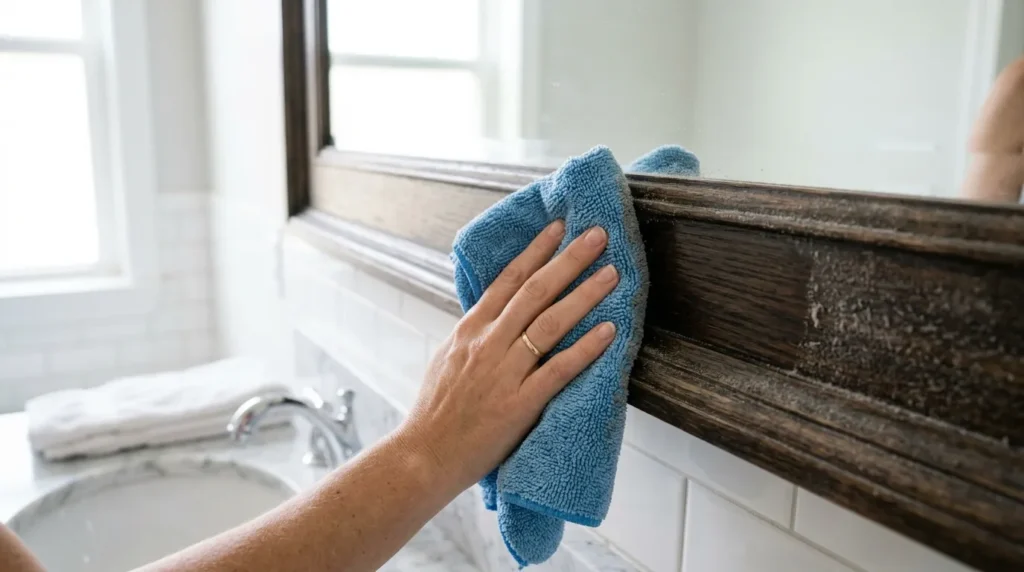
Dry dusting a bathroom before introducing any water or cleaning spray prevents loose dust and hair from mixing with moisture and turning into a harder-to-remove grimy film, which is exactly what happens when wet cleaning methods are used on a surface that hasn’t been dusted first. A mistake many people make is spraying a mirror or counter that still has a layer of dust on it, which often results in streaking that then requires a second pass to fully correct.
How To Do It
Use a dry microfiber cloth to dust mirrors, counters, light fixtures, and any shelving before spraying a single cleaning product in the room. Pay particular attention to areas that collect dust but aren’t part of the regular wet-cleaning routine, like the top of a medicine cabinet or light fixture covers. Once the dry dusting pass is complete, move on to the spray-and-walk-away method for the rest of the room, now working on surfaces that are already free of the loose debris that tends to cause streaking and extra work.
8. Hydrogen Peroxide Grout Whitening
Quick Benefits
- Effective for significant, long-term discoloration
- Brightens grout without harsh bleach fumes
- Works well combined with baking soda
- Budget-friendly compared to specialty grout cleaners
- Noticeable results for heavily stained grout
Why It Works
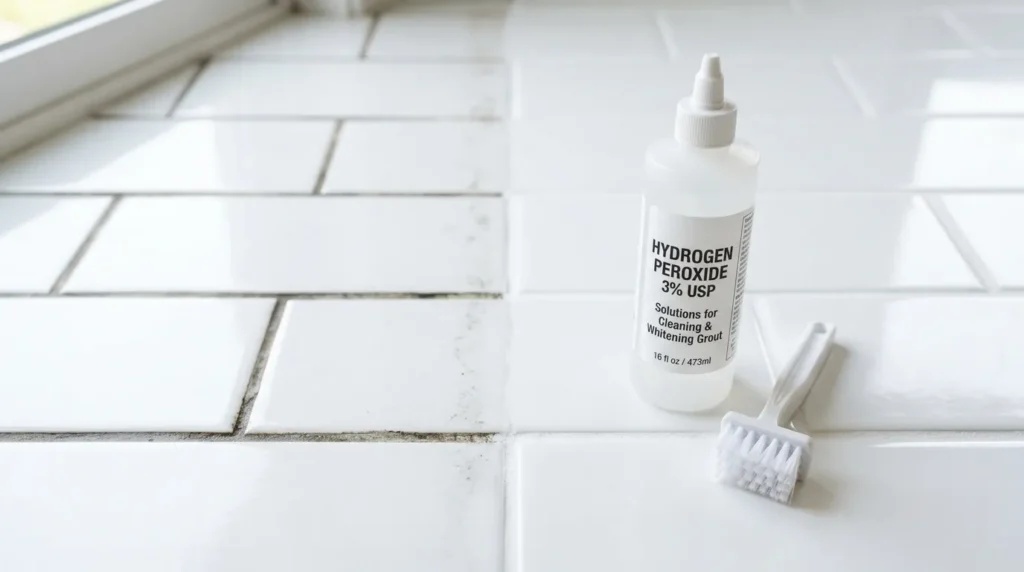
For grout discoloration that’s gone beyond what a basic baking soda paste can fully address, hydrogen peroxide offers a stronger whitening effect without the strong fumes and ventilation concerns that come with bleach-based products. That’s why many cleaning experts recommend hydrogen peroxide specifically for grout that hasn’t been deep cleaned in a long time, since it tends to deliver noticeably better results on significant, longstanding discoloration than gentler maintenance methods alone.
How To Do It
Combine hydrogen peroxide with baking soda to form a thicker paste than the basic grout method, and apply it generously along stained grout lines, letting it sit for a full twenty to thirty minutes rather than the shorter wait time used for routine maintenance. Scrub with a grout brush or old toothbrush, then rinse thoroughly with warm water. For extremely stubborn staining, straight hydrogen peroxide can also be applied directly and left to sit before the baking soda paste step, though testing on a small, inconspicuous area first is worth doing on colored grout specifically.
9. Ceiling Fan and Vent Reset
Quick Benefits
- Improves overall bathroom air quality
- Often-overlooked step most people skip
- Prevents dust buildup from spreading
- Simple, quick addition to a cleaning routine
- Reduces musty odor over time
Why It Works
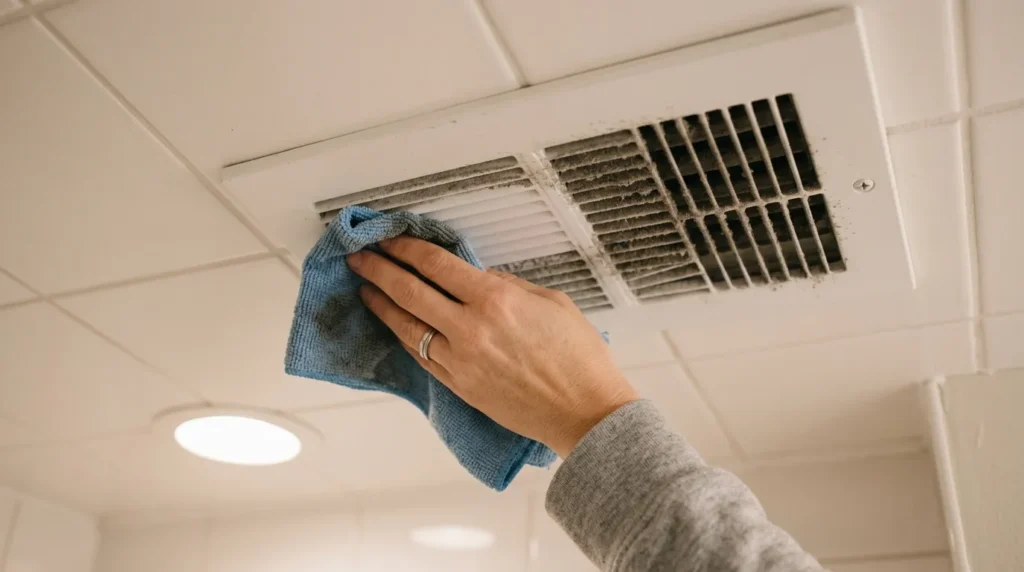
Bathroom exhaust fans and vents accumulate dust surprisingly quickly given how often they’re running, and a fan covered in dust doesn’t just look neglected — it also becomes noticeably less effective at actually venting moisture and odor out of the room. I’ve noticed this is one of the most commonly skipped steps in a bathroom cleaning routine, since it’s easy to forget about a fixture on the ceiling that isn’t part of the usual surfaces being wiped down, despite the real impact it has on the room’s overall air quality and moisture control.
How To Do It
Turn off the fan at the breaker or switch before cleaning, then remove the vent cover if it’s designed to detach, and wash it with warm soapy water or wipe down thoroughly with a damp microfiber cloth. Use a vacuum attachment or a can of compressed air to clear dust from the fan blades and housing itself before reattaching the cover. This is a task that only needs attention every few months rather than during every cleaning session, but adding it to a periodic routine noticeably improves both air quality and how effectively the fan clears moisture after showers.
10. Weekly Micro-Clean Routine
Quick Benefits
- Prevents buildup from becoming a bigger job
- Breaks cleaning into manageable small tasks
- Reduces the need for lengthy deep cleans
- Easy to maintain even on busy weeks
- Keeps the bathroom consistently presentable
Why It Works
A short, consistent weekly routine prevents the kind of buildup that eventually requires an intensive, time-consuming deep clean, spreading the overall effort out into smaller, far more manageable sessions instead. That’s why many cleaning experts recommend thinking about bathroom maintenance the same way as the squeegee habit covered earlier — small, frequent actions that prevent problems, rather than a single large effort that has to undo weeks of accumulated grime all at once.
How To Do It
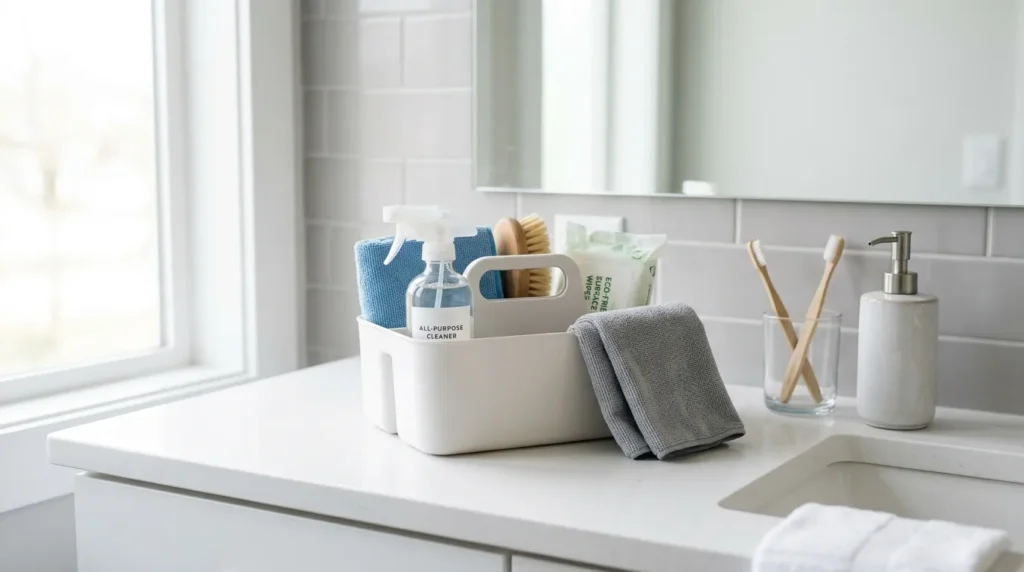
Set aside ten to fifteen minutes once a week for a quick pass — wiping down counters and the sink, giving the toilet a quick spray-and-scrub, and running a squeegee or cloth over the shower glass. This shorter routine handles the surface-level buildup that would otherwise accumulate into a much bigger job, meaning the more intensive hacks on this list, like the vinegar showerhead soak or hydrogen peroxide grout treatment, only need to happen occasionally rather than every single cleaning session. This approach also makes it much easier to maintain a consistently clean bathroom even during particularly busy weeks.
Frequently Asked Questions
How often should a bathroom be deep cleaned? A full deep clean covering grout, showerheads, and vents is generally recommended every one to three months, depending on household size and usage, while lighter weekly maintenance handles everything in between. Regular smaller cleanings significantly reduce how intensive each deep clean needs to be.
What household items work best for bathroom cleaning hacks? Vinegar, baking soda, and hydrogen peroxide are the most versatile and widely recommended household items for bathroom cleaning, each suited to slightly different jobs, from mineral buildup to grout whitening. Dryer sheets are a more unexpected but genuinely effective addition for cutting through soap scum specifically.
How do I remove hard water stains from bathroom fixtures? White vinegar is one of the most effective options for hard water stains, either applied directly with a cloth for smaller spots or used in a soak method for fixtures like showerheads with more significant buildup. Letting the vinegar sit for several minutes before wiping generally produces better results than immediate scrubbing.
Why does my grout keep getting dirty so quickly after cleaning? Porous grout naturally absorbs moisture, soap residue, and dirt more readily than sealed tile surfaces, which is why it tends to show discoloration faster than the rest of the bathroom. Applying a grout sealer after a thorough cleaning can help slow down how quickly new staining develops.
Is it safe to mix vinegar and baking soda for cleaning? Combining vinegar and baking soda creates a fizzing reaction that’s safe to use, though the reaction neutralizes much of each ingredient’s individual cleaning strength, so they’re generally more effective used separately or in sequence rather than mixed together at full strength. Baking soda paired with hydrogen peroxide tends to be a more effective combination for grout specifically.
What’s the fastest way to clean a bathroom before guests arrive? The spray-and-walk-away method is particularly useful here — spraying every surface immediately upon starting, then handling a quick task like restocking towels or emptying the trash while the products sit, before doing a fast wipe-down pass. This approach typically cuts a rushed cleaning session down significantly compared to cleaning one surface at a time from start to finish.
How can I keep my shower glass door from getting cloudy? Consistent use of a squeegee immediately after every shower is the single most effective way to prevent cloudy buildup, since it removes the standing water responsible for mineral deposits before they have a chance to dry on the glass. For glass that’s already cloudy, a vinegar soak or dedicated hard water remover is typically needed to restore clarity.
Final Thoughts
Bathroom cleaning doesn’t have to be the dreaded, time-consuming chore it’s often made out to be — most of the frustration comes down to inefficient methods rather than the task itself being genuinely difficult. Whether it’s reordering your routine with the spray-and-walk-away method or building in small daily habits like a quick squeegee pass, small shifts in approach add up to significantly less time spent scrubbing overall.
Start with one or two hacks and gradually build a routine that keeps buildup from accumulating in the first place, rather than waiting until a deep clean becomes unavoidable. A bathroom that’s maintained consistently, even in small increments, ends up taking far less total effort over time than one that only gets attention once things have already gotten out of hand.
Related Articles
- Weekly House Cleaning Checklist
- Natural Cleaning Products for Every Room
- How to Organize a Small Bathroom
- Kitchen Cleaning Hacks That Save Time
- DIY Home Organization Ideas on a Budget