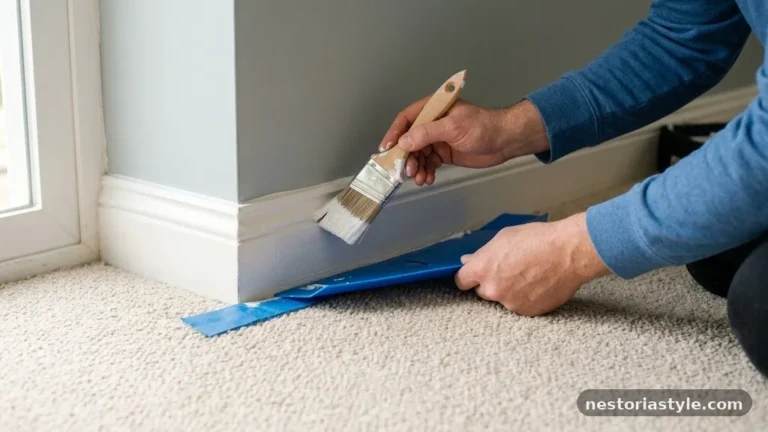

Should You Paint Baseboards Before or After Installing Them on the Wall?
Deciding whether you should paint baseboards before or after installing them on the wall is a common dilemma for DIYers and professional contractors alike. While pre-finishing saves you from straining your back on the floor, installing first allows for a seamless, unified look that hides nail heads and caulking gaps.
Most experienced finish carpenters recommend a hybrid approach where you prime and apply the first coat before installation, followed by a final topcoat once the trim is secured. This method minimizes the time you spend kneeling while ensuring the final appearance is professional and smooth.
The Verdict on Pre-Painting vs. Post-Installation
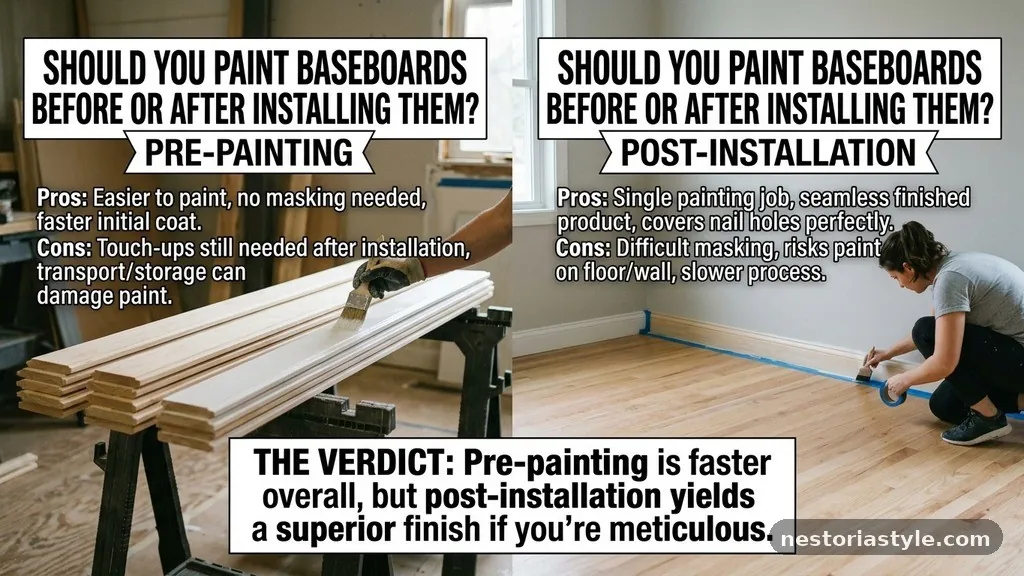
The most efficient workflow for interior finish carpentry involves a combination of both methods. You should ideally prime your wood molding or MDF trim and apply the first coat of paint in a controlled environment before it ever hits the wall.
This allows you to coat the top and bottom edges thoroughly without worrying about getting drips on your carpet or hardwood floors. Once the baseboard is cut to size and attached using a pneumatic nail gun, you can focus on the final details.
By applying the final coat after installation, you can effectively cover up the inevitable imperfections that occur during the mounting process. You will need to fill your nail holes with wood filler and run a bead of painter’s caulk along the top edge where the trim meets the drywall.
If you painted the trim completely before installation, you would be forced to perform messy touch-up painting that often leaves visible brush marks. Finishing the final layer on the wall ensures that your caulk lines and nail patches blend perfectly into the rest of the board.
Pros and Cons of Pre-Painting
Pre-painting offers significant ergonomic benefits because you can set up a workspace on sawhorses. Standing at a comfortable height allows you to maintain better control of your brush or paint sprayer without the physical fatigue associated with working near the floor. You also avoid the risk of getting paint on your wall texture or flooring, as you are working on a dedicated surface like a drop cloth.
However, pre-painting is not a complete solution for a high-end interior finish. You will still have to deal with the inevitable scuffs that happen when you handle the trim during the installation process.
Furthermore, the joints at your baseboard corners—specifically miter joints—will look unfinished if you do not perform at least some work after the boards are fixed to the wall. The trade-off is that you save time on cutting in, but you sacrifice the ability to hide the mechanical fasteners used to secure the trim.
The Role of Caulking and Nail Holes
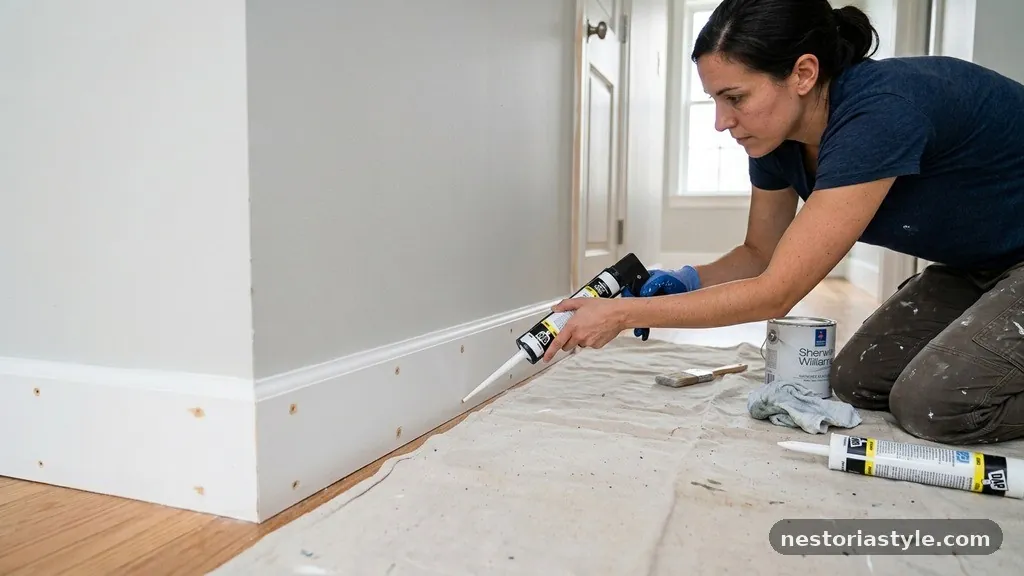
The primary argument for painting after installation is the necessity of hiding the hardware. When you use finish nails to attach baseboards, you create small indentations that must be filled with wood filler or spackle. If you had fully finished the trim beforehand, you would have to sand these spots, prime them, and color-match the paint, which is rarely as clean as a fresh coat over the entire length.
Caulking is another critical step that happens only after the installation is complete. You must run a thin line of painter’s caulk along the top edge of the board to transition into the drywall, especially if your walls are not perfectly flat.
This caulk needs to be painted over to match the trim, which effectively locks the baseboard into the wall and provides that high-quality, built-in look. If you paint before installation, you create a visible line where the caulk meets the factory-finished paint, which is often distracting to the eye.
Comparing Painting Methods
Your choice of tools will significantly impact whether you lean toward pre-painting or on-wall finishing. Using a paint sprayer is much more effective when the trim is loose, as you can achieve an incredibly smooth finish without the risk of brush marks. If you are using a brush application, however, you might find that the vertical nature of the wall makes it easier to manage drips and runs.
| Method | Efficiency | Finish Quality | Best For |
|---|---|---|---|
| Pre-painting | High | Uniform | Large rooms, long runs |
| Post-installation | Low | Seamless | Complex corners, touch-ups |
| Hybrid Approach | Optimal | Professional | General renovations |
The hybrid approach is widely considered the industry standard for a reason. You get the speed of the sprayer for the bulk of the work, but you maintain the ability to detail the installation gaps manually. This method balances the speed of production with the precision of hand-finishing.
Selecting the Right Paint Finish
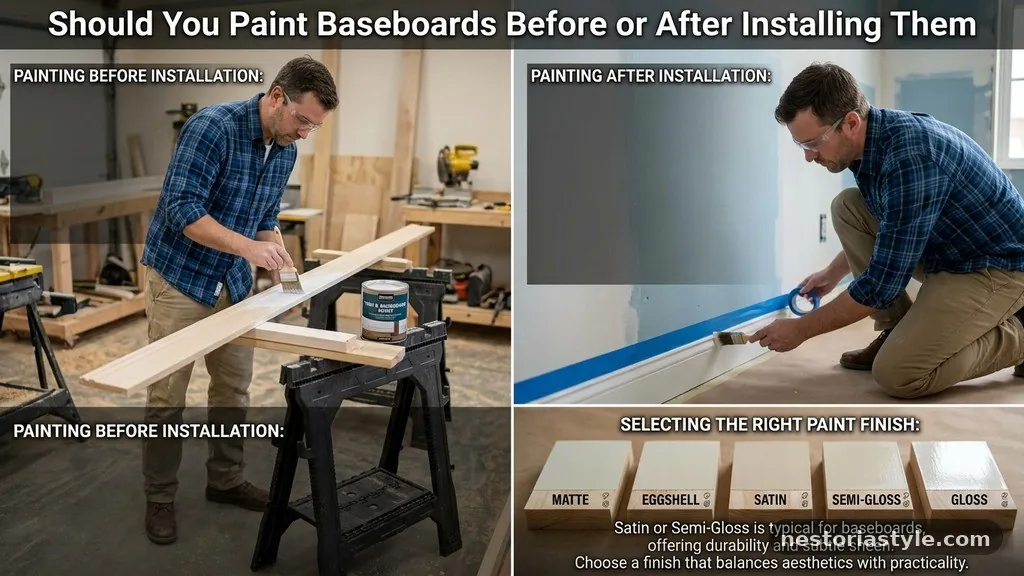
The sheen of your paint plays a massive role in how noticeable your touch-ups will be. Semi-gloss paint is the traditional choice for baseboards because it is durable and easy to clean, but it is also unforgiving when it comes to overlapping brush strokes. If you choose a high-gloss finish, your touch-up painting after installation must be extremely precise to avoid “flashing,” where the new paint looks slightly different from the old.
Satin finish is becoming more popular for modern trim because it hides minor imperfections in the wood grain and is much more forgiving during the touch-up phase. If you are using MDF trim, which is factory-primed, you have a very stable surface that accepts paint well. Always ensure that your baseboard profile is sanded lightly before the final coat to promote adhesion, especially if you are painting over a factory finish.
Managing Baseboard Corners and Joints
Miter joints are the most difficult part of baseboard installation, and they are also the most likely areas to show cracks over time. If you paint these joints before installation, any movement in the house or slight error in your cuts will leave an unsightly gap that is impossible to hide. By painting after the installation, you can fill these gaps with caulk or wood filler, sand them smooth, and paint over them as if the joint were solid.
This is why many professionals advise against fully finishing the baseboards until they are secured. You want the trim to act as a single, continuous unit.
If you are working with complex baseboard profiles, painting after installation allows you to work the paint into the intricate grooves more effectively. This ensures that the deep recesses of the profile are fully covered and that no raw wood is visible from a standing position.
The Importance of Priming
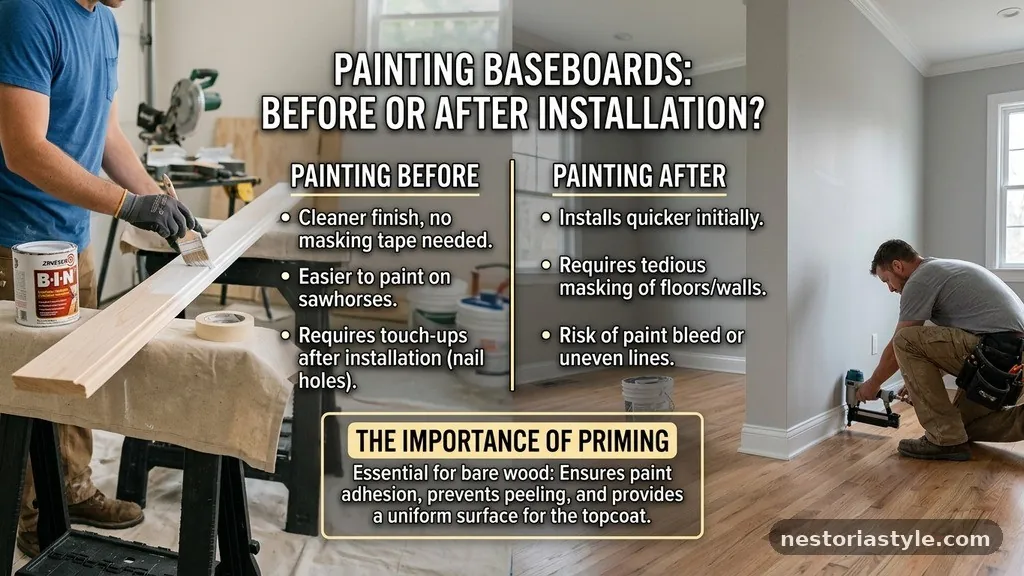
Regardless of when you do your topcoat, you must never skip the priming stage. If you are installing raw wood molding, you should apply a high-quality primer to all sides of the board—including the back—to prevent moisture from warping the wood. This is a step that is much easier to perform before the boards are installed.
If you are using MDF trim, it usually comes pre-primed, but you should still perform a light sanding to ensure the topcoat adheres properly. Primer acts as the foundation for your topcoat, ensuring that the color is consistent and the finish is durable.
If you skip this, your paint may peel or look patchy, especially in high-traffic areas where feet often strike the baseboards. You can find more information on proper surface preparation through the USDA Forest Products Laboratory research on wood finishing.
Preventing Edge Bleeding
Edge bleeding is the most common frustration when painting trim that is already on the wall. This happens when paint seeps under the painter’s tape, resulting in a fuzzy or uneven line against the wall surface. To prevent this, you should apply a thin bead of clear caulk over the edge of the tape before you paint.
When the paint dries, the caulk will have created a perfect seal that prevents any bleed-through. If you are painting the baseboards after installation, you have to be extremely careful with your tape usage. Many professionals prefer to use a steady hand and a high-quality sash brush to “cut-in” the paint along the wall rather than relying on tape, which can pull off fresh wall paint if you are not careful.
Handling Shoe Molding
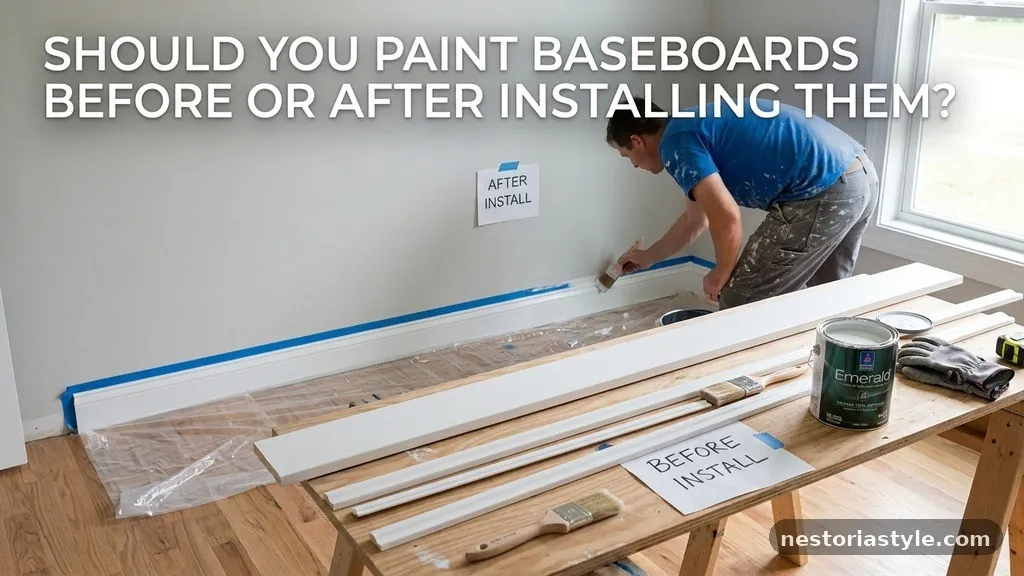
Shoe molding is often added as a final touch to cover the gap between the baseboard and the flooring. Because this piece of trim is so close to the floor, it is almost impossible to paint it perfectly after it is installed without getting paint on the floor. It is highly recommended that you paint shoe molding before installation.
You can touch up the nail holes with a tiny artist’s brush after the shoe is installed. This saves you from having to tape off your flooring, which is a tedious and time-consuming process. By pre-painting the shoe molding, you ensure that the entire length is coated evenly and that you don’t have to worry about drips or spills on your finished floors.
Common Mistakes to Avoid
One of the biggest mistakes is trying to rush the process by applying a thick, single coat of paint. This often leads to runs and drips that are incredibly difficult to fix once the trim is on the wall. Always aim for two thin coats rather than one heavy layer to ensure a smooth, professional finish.
Another mistake is failing to sand between coats. Even if you are using high-quality paint, dust particles and fibers from your brush can get trapped in the finish.
A quick pass with fine-grit sandpaper between coats will make a world of difference in the final look. Remember that your goal is a smooth, glass-like surface that can withstand the daily wear and tear of a busy household.
Frequently Asked Questions
Should I fill nail holes before or after the first coat of paint?
You should fill the nail holes after the trim is installed but before the final coat of paint. If you fill them before the first coat, the filler might shrink as it dries, leaving a small depression that will be visible through the paint. By filling after the initial coat, you can spot-prime the filler and then apply your final topcoat over the entire surface for a perfectly smooth result.
Is it better to use a brush or a roller for baseboards?
A high-quality synthetic sash brush is generally better for baseboards than a roller. Rollers tend to create a stippled texture that looks out of place on trim, whereas a brush allows you to follow the wood grain and the profile of the molding. If you have a very long run of simple, flat trim, a small foam roller can be used, but you should always follow up with a light brush-off to smooth out the finish.
How do I stop my baseboards from cracking at the corners?
Cracking at the corners is usually caused by movement in the house or expansion and contraction of the wood. To minimize this, use a high-quality flexible painter’s caulk rather than spackle or wood filler in the corners. Caulk is designed to flex with the building, which prevents the paint from cracking when the temperature or humidity changes throughout the year.
Can I paint my baseboards with the same paint as the walls?
While you technically can, it is rarely recommended to use the same paint. Baseboards require a much higher degree of durability and a different sheen level—usually semi-gloss or satin—to handle scuffs and cleaning. Wall paint is typically flat or eggshell, which is difficult to clean and will look dull and out of place on your trim.
How long should I wait between coats?
Always check the manufacturer’s label on your paint can, as drying times vary significantly. As a general rule, wait at least four to six hours before applying a second coat to ensure the first layer is fully cured. If you paint too soon, you risk pulling up the first layer with your brush, which will ruin the finish and require significant sanding to repair.
Conclusion
Deciding whether you should paint baseboards before or after installing them on the wall is ultimately about managing the trade-off between convenience and professional detail. By priming and applying the first coat before installation, you save your back and prevent floor damage, while reserving the final coat for the wall allows you to hide all the necessary hardware and seams. This hybrid method is the most reliable way to achieve a high-quality finish that looks like it was installed by an expert.
Take your time with the preparation, as the quality of your sanding and caulking will define the final look more than the paint itself. Focus on creating a clean, seamless transition between the trim and the wall to ensure your work stands the test of time. If you have any questions or want to share your own experience with trim installation, feel free to reach out and keep the conversation going.