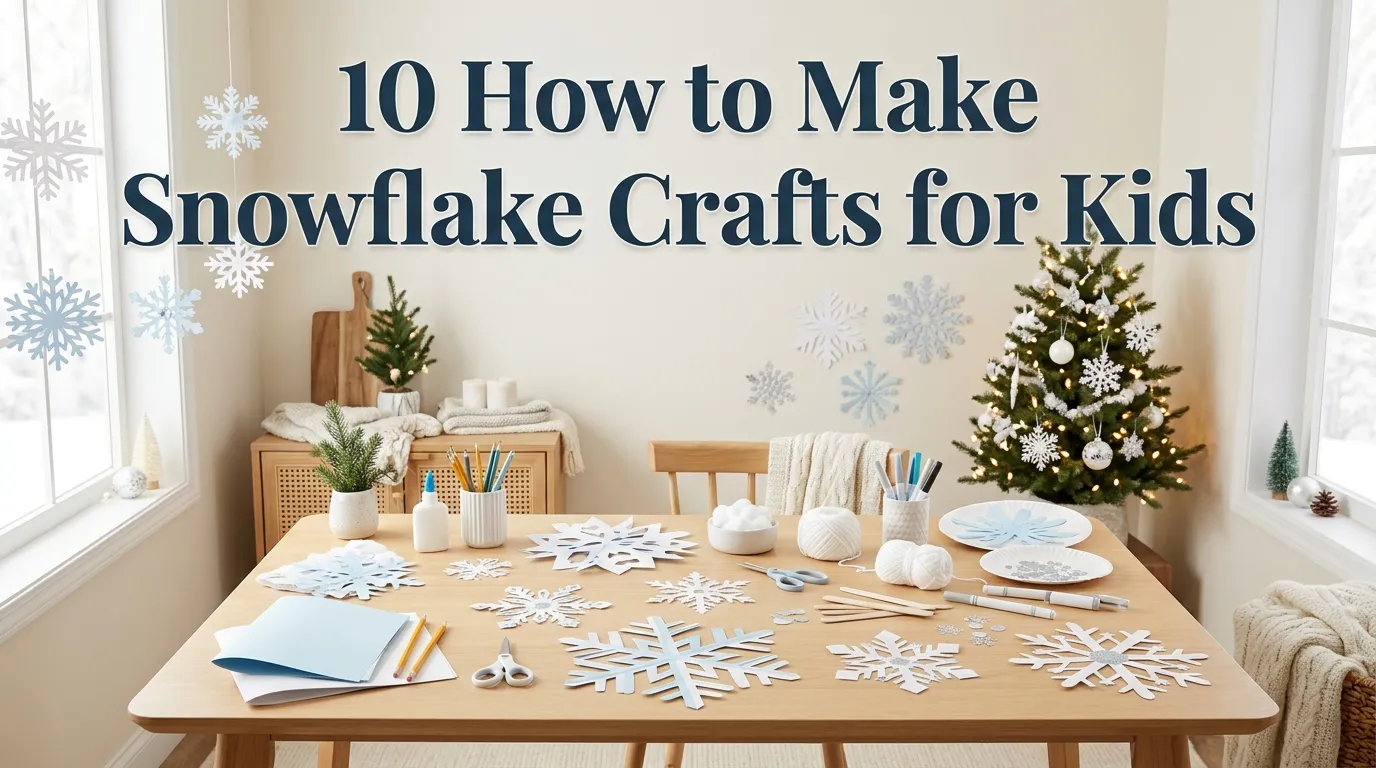
10 How to Make Snowflake Crafts for Kids
Snowflake crafts are one of those simple winter activities that can keep kids happily creating while giving you an easy way to add homemade winter decorations around the house. You don’t need a huge craft supply collection, either. Paper, cardboard, cotton swabs, craft sticks, paint, glue, and a few recycled materials can become beautiful snowflakes with just a little imagination.
What I especially love about snowflake crafts is that there is no single “perfect” result. Real snowflakes are naturally unique, so children can experiment with shapes, textures, colors, and patterns without worrying about making everything identical.
These projects are also flexible enough for different ages. Younger children can glue and decorate pre-cut shapes, while older kids can practice cutting symmetrical paper snowflakes, layering materials, or designing their own winter scenes.
If you’re planning a classroom activity, winter playdate, homeschool craft session, or simply looking for something fun to do on a snowy afternoon, these ideas are easy to adapt.
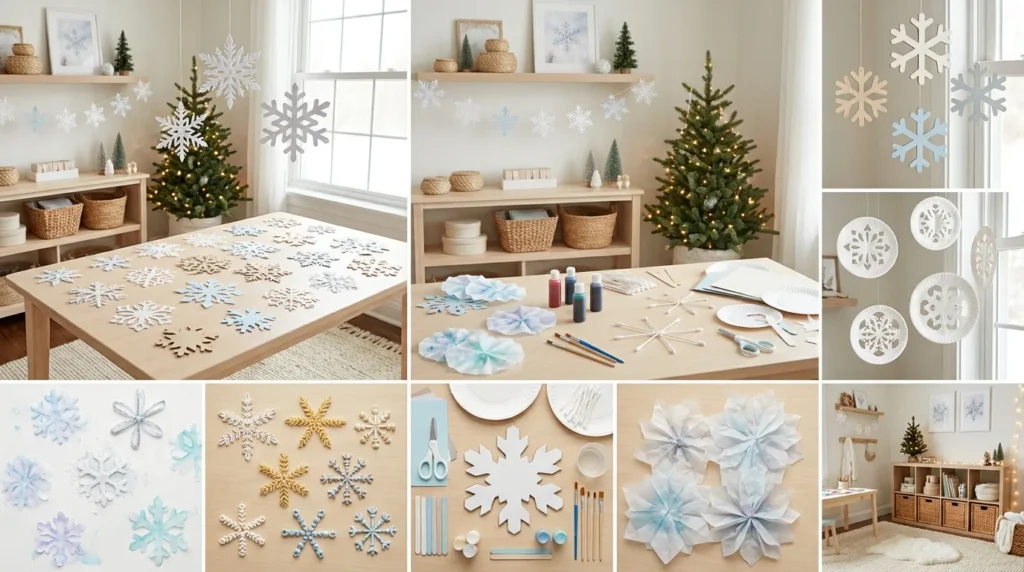
Below are 10 creative snowflake crafts for kids, ranging from classic folded-paper designs to colorful painted snowflakes and dimensional decorations. Most use inexpensive supplies, and several can be turned into ornaments, window decorations, garlands, or winter artwork.
Table of Contents
1. Paper Snowflakes
Learn the classic folding and cutting technique to create unique paper snowflake designs.
2. Craft Stick Snowflakes
Turn ordinary wooden craft sticks into sturdy geometric snowflake decorations.
3. Cotton Swab Snowflakes
Create lightweight snowflake art using cotton swabs and simple glue.
4. Coffee Filter Snowflakes
Transform coffee filters into delicate, colorful snowflake decorations.
5. Painted Snowflakes
Use paint and simple shapes to create bright winter artwork.
6. Pasta Snowflakes
Arrange dry pasta into creative snowflake shapes for a textured craft.
7. Salt Snowflakes
Make sparkling snowflake artwork using glue, salt, and watercolor paint.
8. Cardboard Snowflakes
Repurpose cardboard packaging into sturdy snowflake decorations.
9. Beaded Snowflakes
Use beads and pipe cleaners to create dimensional snowflake ornaments.
10. Snowflake Garland
Turn homemade snowflakes into a festive winter garland for bedrooms or playrooms.
1. Paper Snowflakes
Quick Benefits
- Very inexpensive
- Easy to customize
- Great for practicing cutting skills
- Perfect for windows
- Works for many age groups
Why It Works
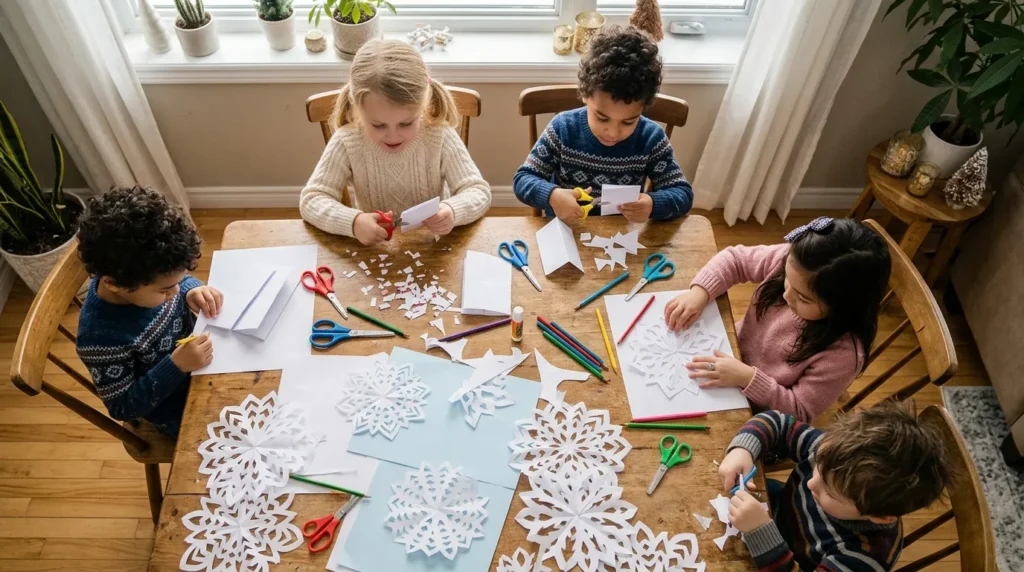
Paper snowflakes are a classic winter craft for a reason. Folding the paper and cutting small shapes creates beautiful symmetrical designs without requiring complicated supplies.
Kids can experiment with different cuts to see how each one changes the final pattern. This makes the activity creative as well as educational.
For younger children, you can prepare the folded paper and allow them to make larger, simpler cuts. Older children can experiment with smaller shapes and more detailed patterns.
How To Style It
Use lightweight white printer paper for beginners.
Fold the paper several times and carefully cut small shapes along the edges.
Open the paper slowly to reveal the design.
Flatten it beneath a book if necessary.
For decoration, hang snowflakes from a window, attach them to a wall, or string several together.
You can also use pale blue, silver, or pastel paper for a colorful winter display.
Always supervise children using scissors and choose child-appropriate scissors based on their age.
2. Craft Stick Snowflakes
Quick Benefits
- Easy for young children
- Creates sturdy decorations
- Simple geometric design
- Easy to paint
- Great for ornaments
Why It Works
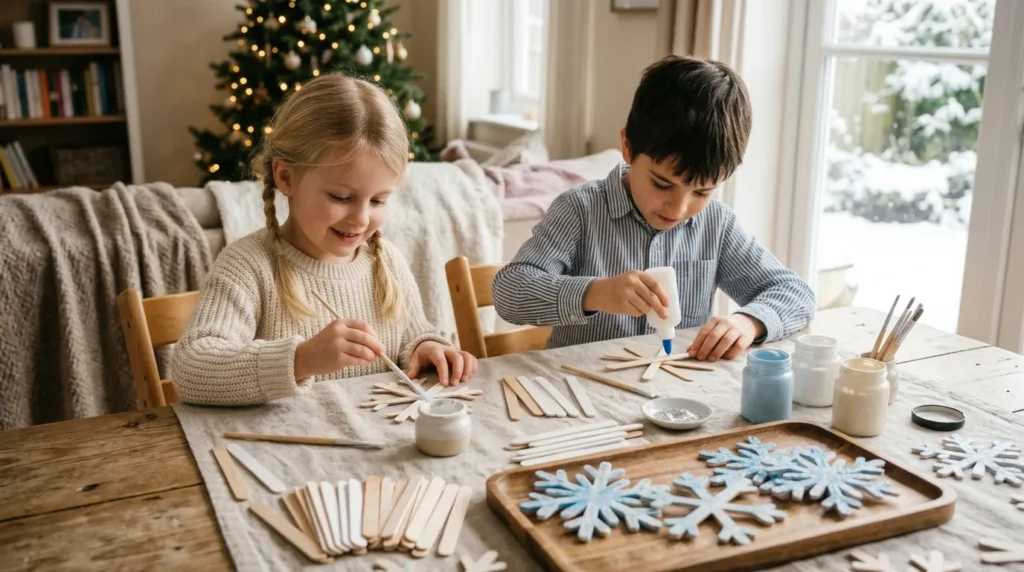
Craft sticks make snowflake shapes much easier for younger children because there is no complicated cutting involved.
The sticks can be arranged into simple six-pointed patterns and secured with craft glue.
Once dry, kids can decorate them however they like.
They look especially pretty painted white and covered with a few sparkling details.
How To Style It
Arrange craft sticks into a snowflake pattern.
Glue the overlapping sections together.
Allow the glue to dry completely.
Paint the snowflake white, light blue, silver, or another winter shade.
Add small dots, glitter, sequins, or faux gems if desired.
Attach a ribbon loop to turn it into an ornament.
For younger children, adults can handle the gluing while kids focus on painting and decorating.
3. Cotton Swab Snowflakes
Quick Benefits
- Uses inexpensive materials
- Simple for younger kids
- Creates delicate designs
- Great for winter artwork
- Requires few supplies
Why It Works
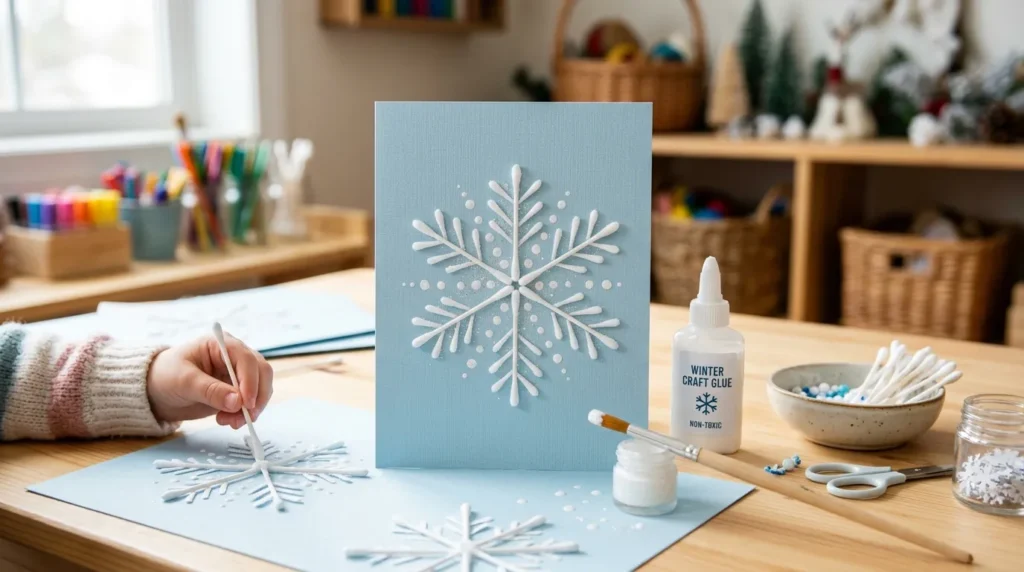
Cotton swabs naturally resemble small snowflake branches, making them surprisingly useful for winter crafts.
Children can arrange them into different patterns before gluing them down.
The activity also encourages kids to think about symmetry and geometric shapes.
Because the materials are lightweight, finished designs can be attached to windows, paper backgrounds, or winter-themed artwork.
How To Style It
Start with a piece of blue or white construction paper.
Arrange cotton swabs into a six-pointed snowflake.
Trim some cotton swabs into smaller pieces if needed, with adult assistance.
Glue the pieces onto the paper.
Add small dots of white paint around the design.
For sparkle, use a small amount of child-appropriate craft glitter or metallic paper accents.
Let everything dry flat before displaying.
4. Coffee Filter Snowflakes
Quick Benefits
- Lightweight
- Easy to color
- Great for hanging
- Creates soft shapes
- Fun for experimenting
Why It Works
Coffee filters are thin and easy to fold, which makes them a wonderful alternative to ordinary paper.
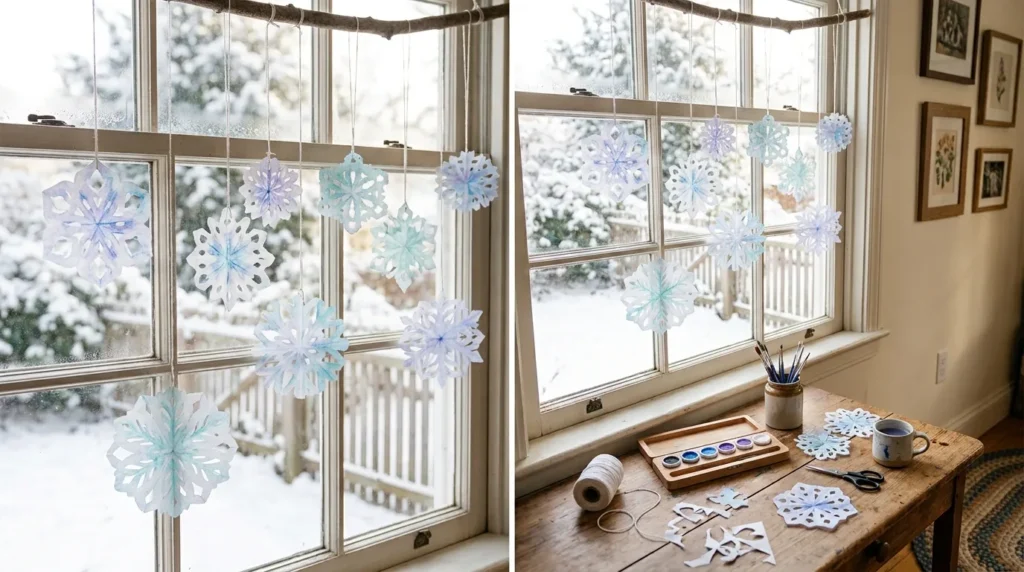
Their translucent quality also allows light to pass through, making them especially attractive when displayed near windows.
Kids can use washable markers or diluted watercolor paint to add subtle colors before or after cutting.
How To Style It
Flatten a white coffee filter.
Fold it into several sections.
Cut small shapes along the edges.
Open it carefully.
For colorful snowflakes, add diluted blue or purple watercolor.
Let the filter dry completely.
Hang the finished pieces near windows with removable tape or lightweight string.
Use several sizes together to create a layered winter display.
5. Painted Snowflakes
Quick Benefits
- Encourages creativity
- No complicated cutting
- Great for younger children
- Creates colorful artwork
- Easy to personalize
Why It Works
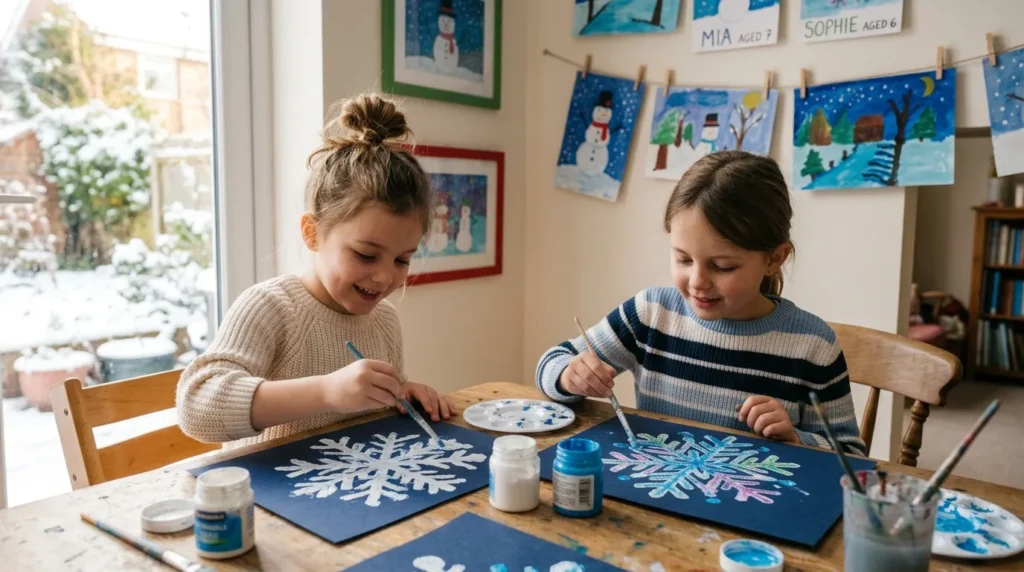
Painting gives kids complete freedom to interpret what a snowflake should look like.
Instead of focusing on symmetry, they can explore dots, lines, brushstrokes, and different shades.
This is particularly useful for children who aren’t ready for detailed cutting projects.
How To Style It
Draw a basic snowflake outline on construction paper.
Give children washable paint and small brushes.
Encourage them to trace the lines and add dots around the design.
Use white, pale blue, silver, lavender, or even rainbow colors.
Add a contrasting background for extra definition.
Once dry, display several pieces together as a winter art gallery.
6. Pasta Snowflakes
Quick Benefits
- Uses household materials
- Adds interesting texture
- Great sensory activity
- Easy to customize
- Makes unique ornaments
Why It Works
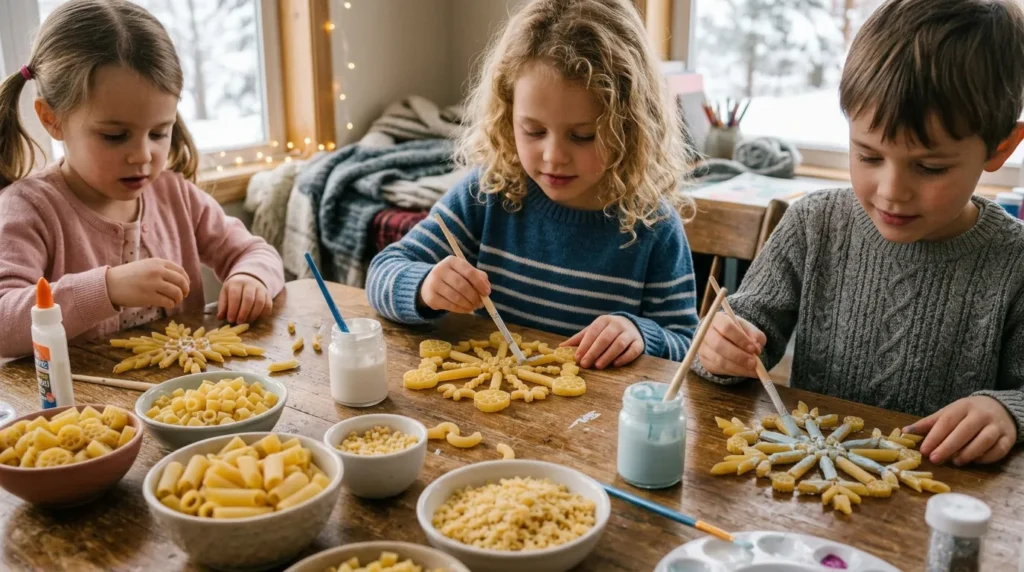
Different pasta shapes can create interesting snowflake patterns.
Children can arrange bow ties, small tubes, shells, or other dry pasta into geometric designs before attaching them to cardstock or a craft surface.
The variety of shapes makes every finished snowflake different.
How To Style It
Choose several dry pasta shapes.
Arrange them into a snowflake pattern on thick cardstock.
Glue the pieces carefully.
Allow the design to dry completely.
Paint the entire snowflake white or light blue.
Add small metallic accents if desired.
For an ornament, attach ribbon after the craft has dried.
Avoid using small pasta pieces around very young children who may put objects in their mouths.
7. Salt Snowflakes
Quick Benefits
- Creates a sparkling effect
- Simple supplies
- Great for artwork
- Encourages experimentation
- Beautiful winter texture
Why It Works
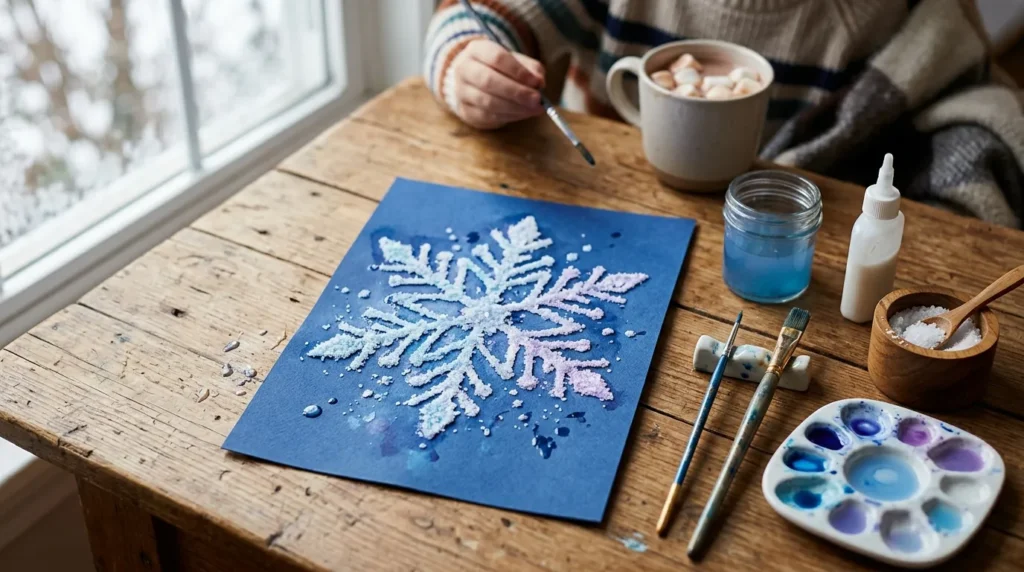
Salt creates a naturally crystalline texture that resembles frost and snow.
The technique is simple: children draw a snowflake with glue, sprinkle salt over the wet glue, and then add watercolor color.
The paint spreads along the salt, creating an interesting effect.
How To Style It
Draw a snowflake design on dark blue cardstock.
Trace the lines with white school glue.
Sprinkle table salt generously over the wet glue.
Gently shake off excess salt onto a reusable surface.
Use a small paintbrush to apply diluted watercolor to the salt lines.
Try pale blue, purple, or turquoise.
Allow the artwork to dry completely before displaying.
Supervise younger children because loose salt should not be ingested.
8. Cardboard Snowflakes
Quick Benefits
- Reuses packaging
- Creates sturdy decorations
- Great for large projects
- Easy to paint
- Budget-friendly
Why It Works
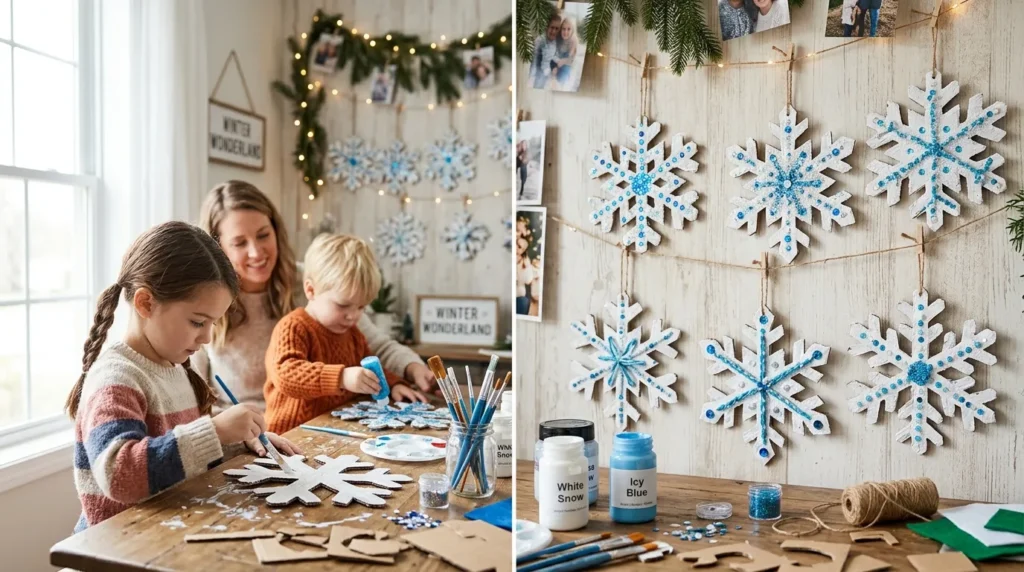
Cardboard is ideal when you want a snowflake that can be displayed for several seasons.
Old shipping boxes, cereal boxes, and other clean cardboard packaging can be transformed into decorative winter shapes.
The thicker material also makes it possible to create larger snowflakes than you could with ordinary paper.
How To Style It
Draw a large snowflake design on clean cardboard.
Cut the shape using an appropriate craft knife only with adult supervision.
Let children decorate the finished shape with paint, paper, or safe embellishments.
Paint it white for a classic look.
Add blue details or metallic accents.
Hang several large snowflakes together on a wall for a dramatic winter display.
9. Beaded Snowflakes
Quick Benefits
- Creates dimensional decorations
- Reusable
- Great fine-motor activity
- Easy to personalize
- Perfect for ornaments
Why It Works
Beaded snowflakes combine crafting with a hands-on activity that encourages kids to work with patterns and repetition.
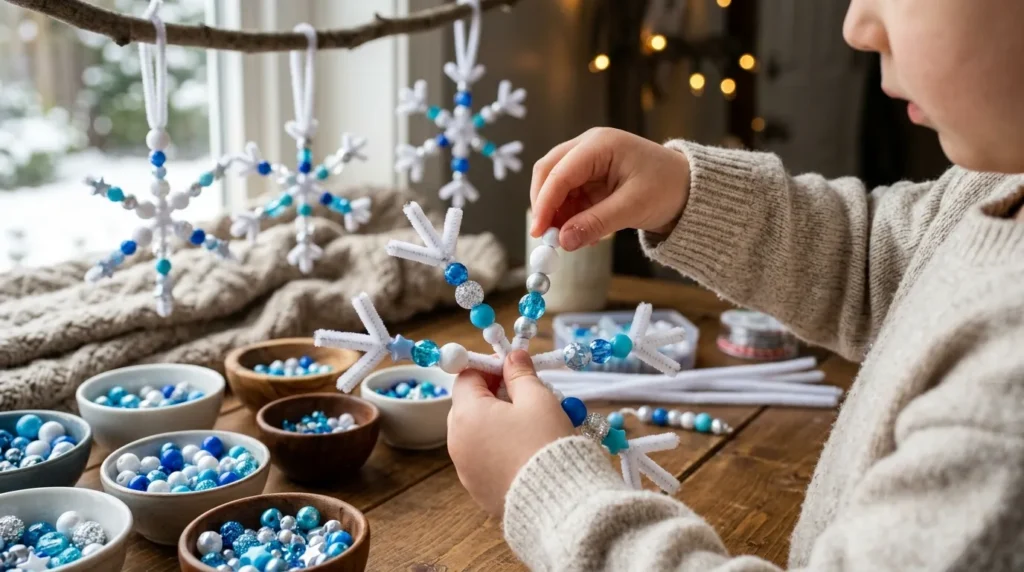
Pipe cleaners make the basic structure simple because they can be bent into snowflake arms without requiring complicated tools.
Beads then add color and texture.
How To Style It
Use several pipe cleaners in white, silver, blue, or another winter color.
Twist them together at the center to create a six-pointed shape.
Thread large, child-appropriate beads onto the arms.
Twist or fold the ends to keep beads securely in place.
Add a loop at the top.
Use larger beads for younger children and supervise the project closely around small children.
10. Snowflake Garland
Quick Benefits
- Decorates a large area
- Uses homemade crafts
- Great family project
- Easy to customize
- Perfect for parties
Why It Works
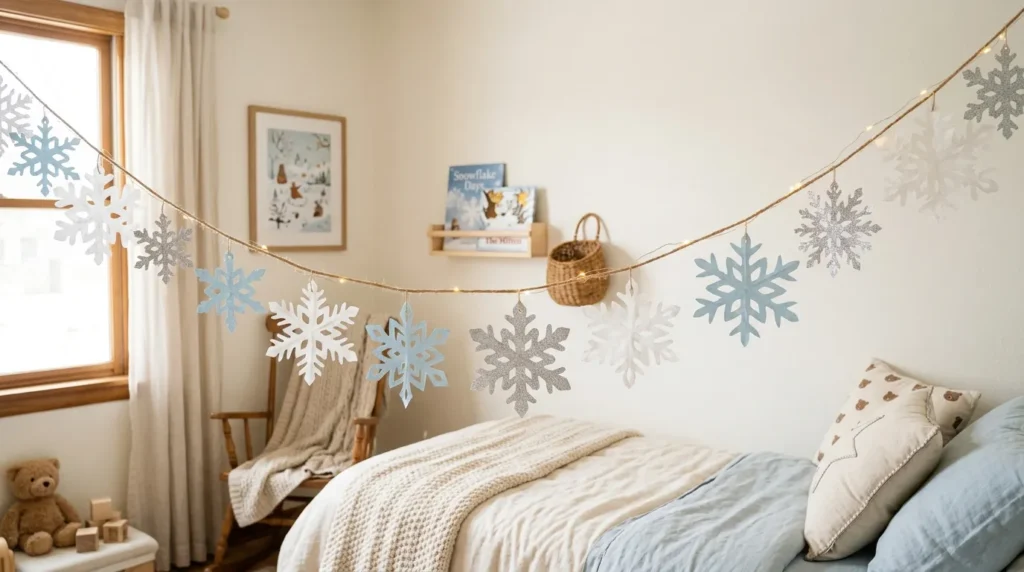
A garland turns individual snowflake crafts into a larger decoration.
Instead of displaying each snowflake separately, connect several designs with string or ribbon and hang them across a wall, window, shelf, or doorway.
This works particularly well when each child contributes a few snowflakes.
How To Style It
Make several paper, coffee filter, or cardstock snowflakes.
Vary their sizes.
Punch a small hole near the top of each piece.
Thread them onto white string, cotton cord, or ribbon.
Leave a little space between each snowflake.
Add small wooden beads or paper circles between pieces if desired.
Hang the garland horizontally across a wall or vertically beside a window.
Tips for Making Snowflake Crafts Easier
Snowflake projects don’t have to be complicated.
If you’re crafting with younger children, prepare some of the difficult steps beforehand.
For example, you can pre-cut cardboard shapes, fold paper, or organize supplies into small containers.
Older kids can handle more of the preparation themselves.
It also helps to protect your work surface with newspaper, kraft paper, or a washable mat.
Keep glue, paint, glitter, beads, and scissors organized so children can focus on creating rather than constantly searching for supplies.
Most importantly, don’t worry about perfection.
A snowflake with uneven branches can still be beautiful.
Easy Snowflake Materials to Keep at Home
You can create many of these crafts with inexpensive supplies.
Consider keeping:
- White paper
- Construction paper
- Cardstock
- Coffee filters
- Craft sticks
- Cotton swabs
- Pipe cleaners
- Dry pasta
- Washable paint
- School glue
- Watercolors
- Salt
- Ribbon
- String
- Child-safe scissors
- Large craft beads
- Recycled cardboard
Having these basics available makes spontaneous craft afternoons much easier.
FAQ
What is the easiest snowflake craft for kids?
Paper snowflakes are one of the easiest options because they require only paper and scissors. Younger children can use larger pieces and simple cuts, while older children can experiment with more detailed patterns. Craft-stick snowflakes are another easy option when you want to avoid cutting.
How do you make a simple paper snowflake?
Fold a square piece of paper several times, then carefully cut small shapes along the folded edges. When you unfold the paper, the repeated cuts create a symmetrical snowflake. Younger children can start with larger cuts, while older kids can experiment with more intricate patterns.
What snowflake crafts are good for toddlers?
For toddlers, choose crafts that don’t require detailed cutting or small loose pieces. Painting large snowflake shapes, gluing cotton swabs with adult assistance, or decorating large pre-cut cardboard snowflakes can work well. Always supervise young children during craft activities.
How can kids make snowflake decorations without glitter?
There are plenty of alternatives. Try white paint, metallic paper, watercolor, beads, ribbon, cotton, dried materials, or small pieces of colored cardstock. These materials can create beautiful texture without using loose glitter.
Can homemade snowflakes be used as Christmas decorations?
Yes. Paper, cardboard, craft-stick, fabric, and beaded snowflakes can be displayed on Christmas trees, windows, mantels, walls, shelves, and garlands. White and silver snowflakes can also complement traditional Christmas decorations without competing with colorful ornaments.
What can kids learn from snowflake crafts?
Crafting can encourage creativity, fine-motor skills, pattern recognition, cutting practice, and an understanding of symmetry. Folding and cutting paper snowflakes is especially useful for introducing children to geometric concepts in a fun, hands-on way.
How do you preserve paper snowflake crafts?
Store dry paper snowflakes flat between sheets of clean paper or cardstock. For display, avoid areas where they can become wet or heavily bent. Sturdier cardstock or laminated designs can last longer, although lamination may change the delicate appearance of very thin paper.
Conclusion
Snowflake crafts are an easy way to turn an ordinary afternoon into a creative winter activity.
The best part is that you don’t need expensive supplies or advanced crafting skills. A sheet of paper can become a delicate window decoration, craft sticks can become a geometric ornament, and recycled cardboard can become a large snowflake for a bedroom wall.
Choose projects based on your child’s age and interests. Younger kids may enjoy painting and decorating, while older children might love experimenting with paper-cutting patterns, beaded designs, or detailed winter artwork.
You can also turn the finished crafts into something bigger.
Hang them from windows, create a snowflake garland, decorate a Christmas tree, or make a winter-themed gallery wall. When children see their creations become part of the home’s seasonal decor, the activity becomes even more meaningful.
Start with one simple project, gather a few basic supplies, and let the kids make the snowflakes their own. The little imperfections are part of what makes handmade winter decorations so charming.