10 How to Clean Old Grease From Kitchen Cabinets
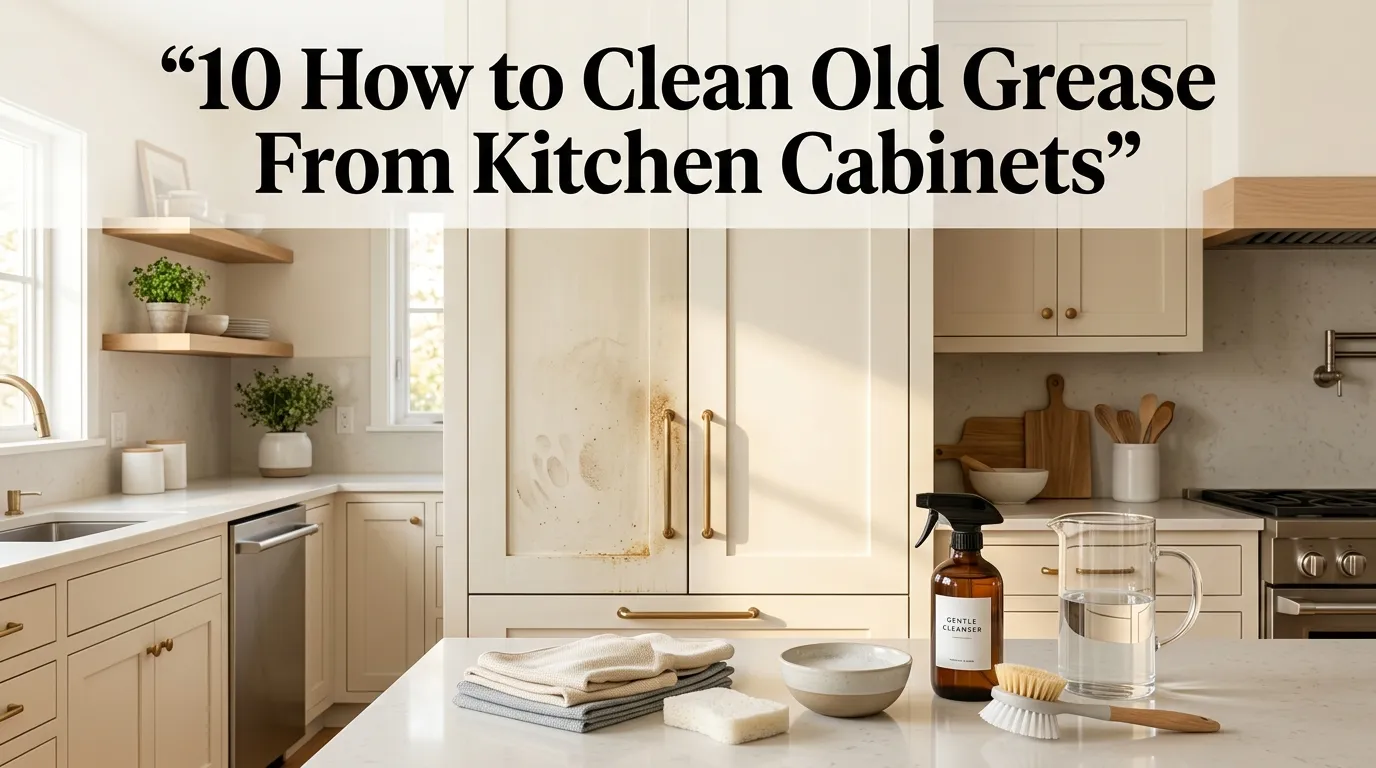
Kitchen cabinets quietly collect some of the toughest grime in the home. Steam from cooking, airborne oil, food splatters, and everyday fingerprints can gradually create a sticky film that ordinary dusting does not remove. Once grease has been sitting on cabinet doors for months or even years, the surface can look dull, yellowed, or noticeably darker around the handles and cooking area.
The frustrating part is that old grease often does not disappear with one quick wipe. Scrubbing too aggressively can damage paint, stain, wood finishes, or laminate surfaces, so the goal is to loosen the buildup before wiping it away. The right approach depends on what your cabinets are made from and how heavily the grease has accumulated.
If you’re getting ready for a kitchen refresh, cleaning your cabinets can make a surprisingly big difference. You may not need new doors or an expensive renovation at all. Removing years of residue can bring back the original color and help the entire kitchen look brighter and better maintained.
This guide shares 10 practical methods for tackling stubborn cabinet grease, from gentle dish-soap solutions to targeted cleaning for cabinet hardware and difficult areas. You’ll also learn what to avoid, how to test a cleaning method safely, and how to keep grease from building up again.
Before using any cleaner, check your cabinet manufacturer’s care instructions. When you’re unsure about the finish, always test your chosen solution on a small, hidden area first.
Table of Contents
1. Start With Dust
Remove loose dust and crumbs before working on sticky grease.
2. Use Dish Soap
Create a gentle solution that cuts through everyday kitchen oil.
3. Try Warm Water
Use controlled moisture to soften residue without soaking cabinet materials.
4. Tackle Stubborn Spots
Work carefully on thick, aged grease around cooking areas.
5. Clean Cabinet Hardware
Refresh handles, knobs, hinges, and surrounding areas where grime collects.
6. Treat Wood Cabinets
Use extra care when cleaning natural wood and finished surfaces.
7. Refresh Painted Cabinets
Remove grease while protecting delicate painted finishes.
8. Clean Cabinet Tops
Reach the overlooked surfaces where years of dust and grease combine.
9. Dry Everything Well
Prevent moisture damage by thoroughly drying cleaned surfaces.
10. Prevent New Buildup
Create simple habits that keep cabinets cleaner for longer.
1. Start With Dust
Quick Benefits
- Removes loose surface debris
- Prevents muddy residue while cleaning
- Makes greasy areas easier to identify
- Reduces unnecessary scrubbing
- Creates a cleaner starting point
Why It Works
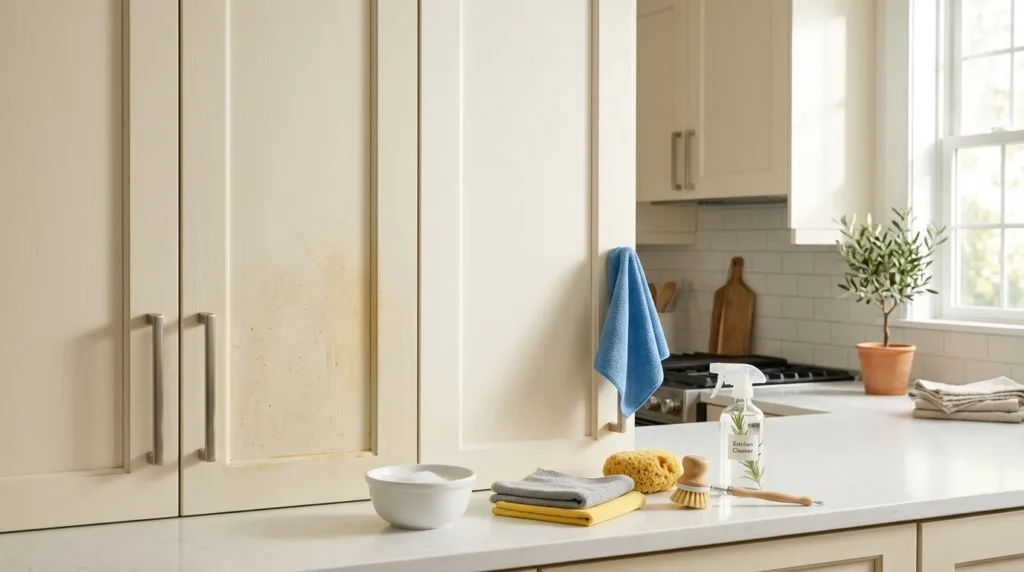
Before reaching for a cleaner, remove the dry debris sitting on your cabinets. Kitchen cabinets collect dust, crumbs, flour particles, and other fine debris, particularly along the top edges and around decorative grooves.
When water or cleaner is added immediately, that loose material can turn into a sticky paste. Instead of making the cabinet easier to clean, you can end up spreading the grime across a larger area.
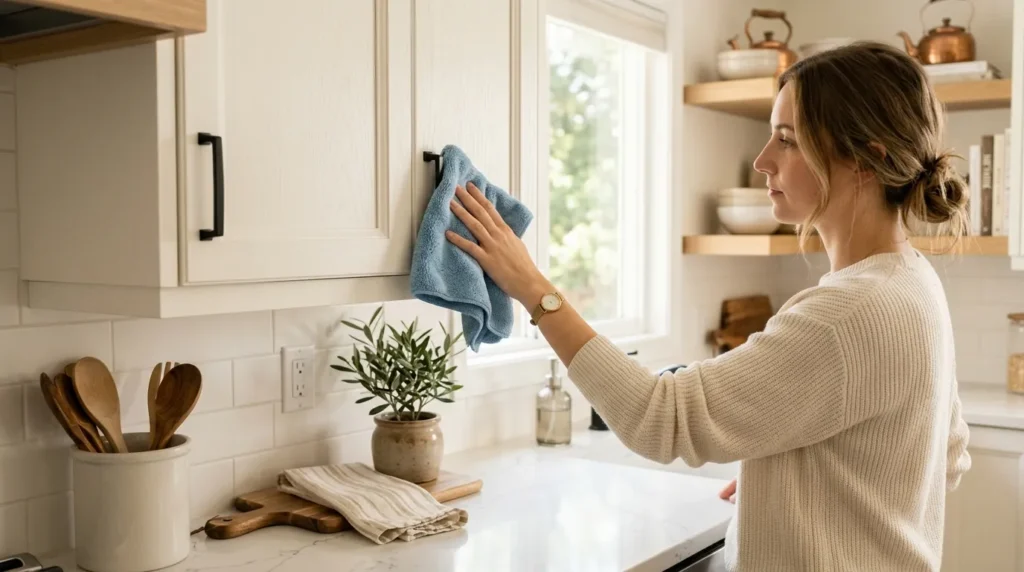
A dry microfiber cloth is ideal for this first pass because it can pick up fine particles without scratching most finished surfaces. Work from the upper cabinets downward so anything that falls during cleaning can be dealt with later.
This step may seem insignificant, but it makes the rest of the process noticeably more manageable.
How To Style It
Remove countertop appliances, decorative objects, and anything sitting directly beneath the cabinets you plan to clean. This gives you room to work without constantly moving things around.
Use a clean, dry microfiber cloth and gently wipe cabinet doors, frames, handles, and accessible edges. For detailed grooves, a soft dry brush can help loosen dust.
Do not press hard. You’re not trying to remove grease during this stage.
If you’re cleaning upper cabinets, use a stable step stool rather than standing on a countertop or chair. Keep your cleaning supplies within easy reach so you don’t have to stretch while working.
Once the loose debris is gone, you’ll have a much better view of where the old grease is concentrated.
2. Use Dish Soap
Quick Benefits
- Cuts through kitchen grease
- Uses an inexpensive household product
- Works well for many finished surfaces
- Easy to rinse away
- Suitable for routine maintenance
Why It Works
For many kitchen cabinets, plain dish soap diluted with warm water is an excellent place to start. Dish soap is designed to break down oils and grease, which makes it particularly useful for the thin sticky film that develops around cooking areas.
The key is using a small amount rather than creating an extremely concentrated mixture. Too much soap can leave a residue that attracts additional dust and makes the cabinet feel tacky.
Apply the solution to your cloth rather than soaking the cabinet. Wipe a small section, then follow with a clean damp cloth to remove remaining soap.
This method is especially useful when the grease is stubborn but the cabinet finish itself is still in good condition.
How To Style It
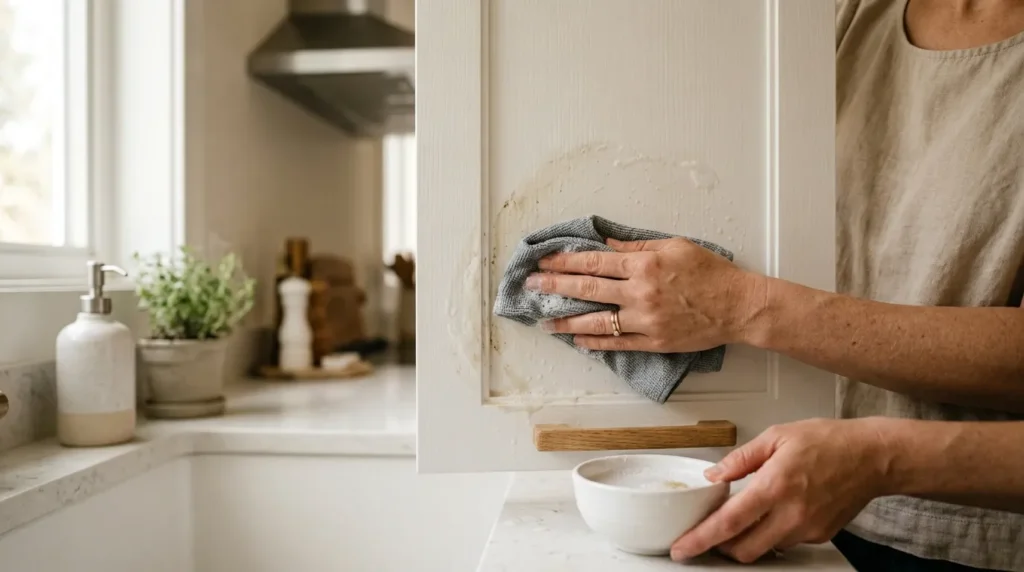
Fill a small bowl with warm water and add a modest amount of mild dish soap. Dip a microfiber cloth into the solution and wring it out thoroughly.
Work on one cabinet door at a time. Start near the top and move downward, using gentle overlapping strokes.
Pay particular attention to the area around cabinet pulls. Hands transfer natural oils and cooking residue to these spots throughout the day.
After cleaning, use another cloth dampened with plain water to wipe away soap residue. Finish with a dry microfiber cloth.
Avoid flooding the doors. Water can seep into seams, joints, unfinished edges, or porous materials and cause swelling or other damage.
3. Try Warm Water
Quick Benefits
- Softens light grease
- Requires minimal supplies
- Works well for fresh residue
- Reduces the need for aggressive scrubbing
- Provides a gentle first treatment
Why It Works
Sometimes old grease looks more difficult than it actually is because it has been combined with dust and dried food particles. Warm water can help soften this surface film before stronger cleaning is attempted.
The important distinction is between using warm, controlled moisture and saturating the cabinet. Wood-based materials in particular can be damaged by excess water.
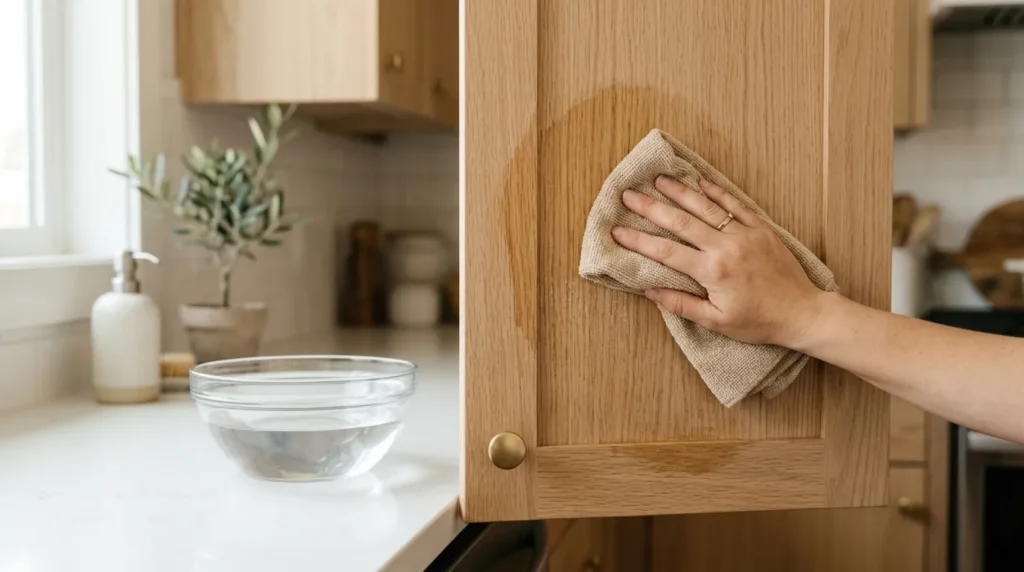
Use a warm, damp microfiber cloth and hold it against a greasy spot for a few seconds. This gives the residue time to soften. Then wipe gently.
For cabinets with a durable finish, this may be enough to remove lighter layers of buildup. If the residue remains, move to a mild soap solution instead of immediately reaching for a harsh chemical.
How To Style It
Work in small sections rather than wetting the entire kitchen at once. This lets you see how the cabinet finish responds.
Dampen the cloth with warm water and wring it until it is merely damp. Press it gently against a greasy area for several seconds.
Wipe in the direction of the wood grain when working with wood cabinets. On painted or laminate surfaces, use smooth strokes without aggressive circular scrubbing.
Immediately dry the area with a clean towel.
If the cabinet remains sticky after this treatment, don’t keep rubbing harder. Move to a more suitable grease-cutting cleaner that is safe for your particular cabinet material.
4. Tackle Stubborn Spots
Quick Benefits
- Addresses thick grease deposits
- Focuses effort where it matters
- Avoids unnecessary whole-cabinet scrubbing
- Helps restore heavily affected areas
- Makes difficult cleaning more manageable
Why It Works
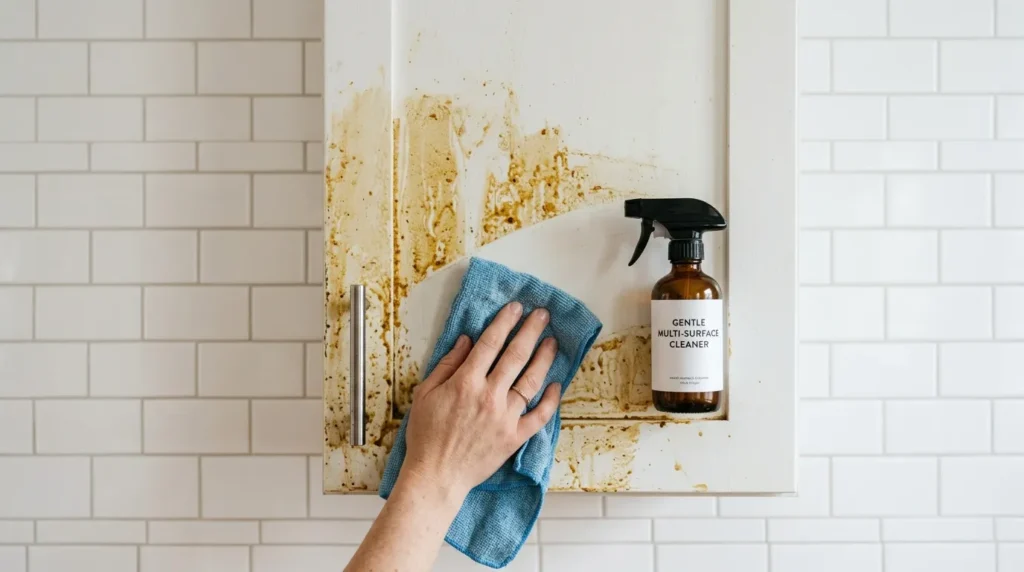
Old grease is usually not distributed evenly. The cabinets directly above the stove, beside the range hood, and around frequently touched handles often have much heavier buildup than cabinets farther away.
Instead of treating every surface aggressively, identify these problem areas first.
A soft cloth with a mild degreasing solution can gradually loosen the residue. Letting the cleaner sit briefly, when the product directions allow it, is often more effective than applying extra pressure.
One mistake many homeowners make is reaching for abrasive powders or rough scrubbers when grease refuses to move. That can remove more than the grease, especially on painted or glossy finishes.
Patience is often the safer solution.
How To Style It
Start with the mildest cleaner appropriate for your cabinet finish. Apply it to a cloth rather than directly spraying large amounts onto the door.
Work in a small test area. If the grease softens without affecting the finish, continue gradually.
For thick buildup, repeat the process rather than aggressively scrubbing in one attempt. A soft toothbrush can be useful around decorative edges and narrow grooves.
Keep your cloths clean as you work. A heavily saturated cloth can simply redistribute grease.
After each small section, wipe with a clean damp cloth and dry thoroughly. This gives you a better idea of whether another treatment is actually necessary.
5. Clean Cabinet Hardware
Quick Benefits
- Removes greasy fingerprints
- Refreshes handles and knobs
- Cleans around difficult edges
- Improves the overall appearance
- Completes the cabinet cleaning process
Why It Works
Cabinet hardware is one of the most frequently touched areas in a kitchen. Handles collect fingerprints, cooking oil, flour, food residue, and hand lotion throughout the day.
Even if the cabinet door itself is relatively clean, dirty hardware can make the whole kitchen look neglected.
Many handles and knobs can be cleaned separately, but the correct method depends on the material and finish. Metal finishes can vary considerably, so avoid assuming that every hardware piece should be treated with the same product.
Pay attention to the area immediately behind each handle. Grease often accumulates there because the cloth used for routine cleaning cannot easily reach the narrow space.
How To Style It
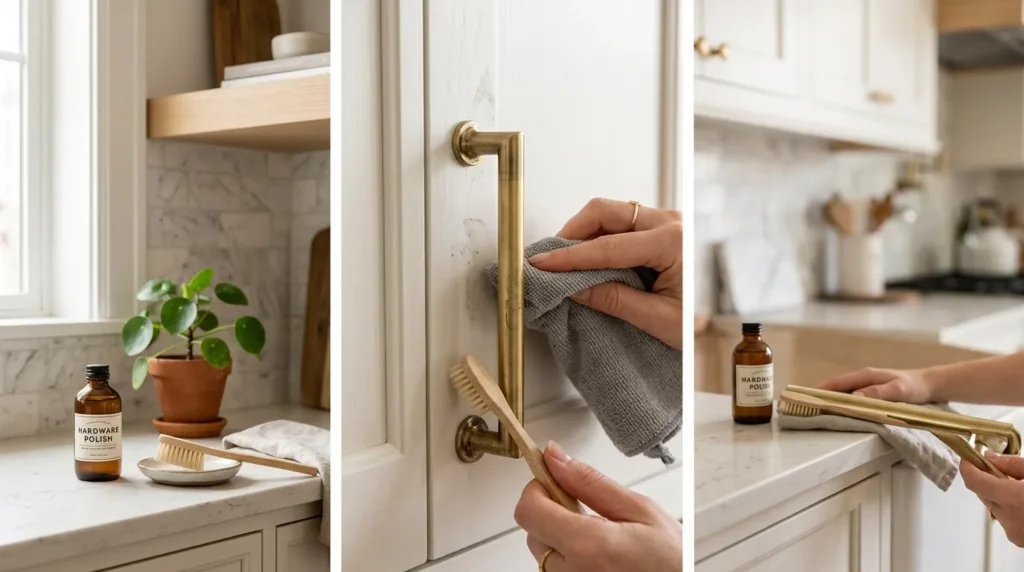
If the hardware can safely be removed, place each piece in a small labeled container so you know where everything belongs. This can make a larger kitchen cleaning project much easier.
For hardware that remains attached, use a soft cloth with a mild cleaning solution appropriate for the finish.
A soft toothbrush can help clean around screw heads and mounting points.
Avoid abrasive pads that can scratch decorative finishes. Also avoid soaking hardware unless the manufacturer’s care instructions specifically permit it.
Once cleaned, dry the hardware thoroughly before moving on. The result can be surprisingly noticeable because shiny, clean handles create a crisp contrast against freshly cleaned cabinet doors.
6. Treat Wood Cabinets
Quick Benefits
- Protects natural wood finishes
- Reduces moisture exposure
- Preserves the appearance of the grain
- Helps avoid unnecessary damage
- Provides a gentler cleaning approach
Why It Works
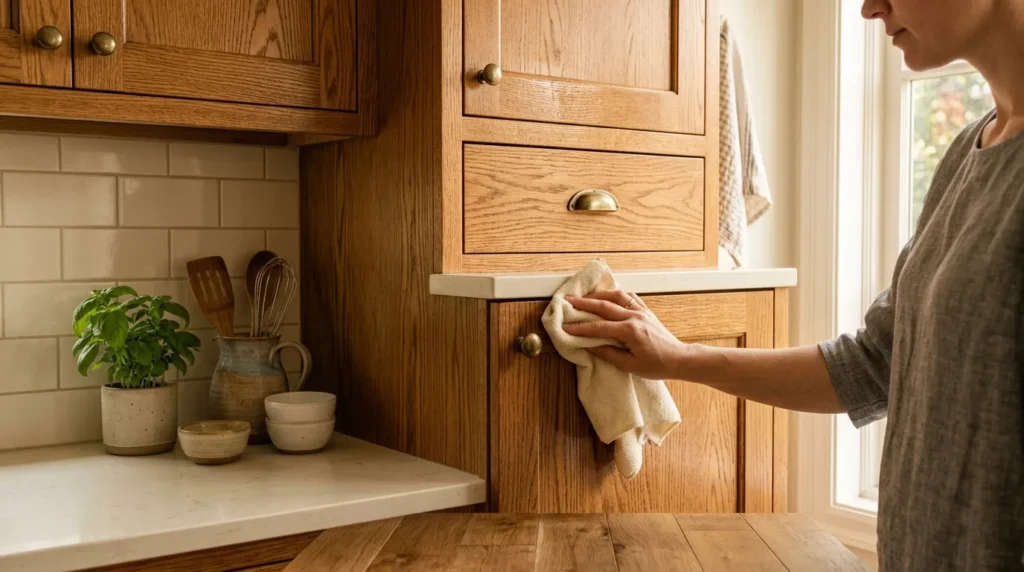
Natural wood cabinets require more careful treatment than many synthetic surfaces. Wood can react to excess moisture, harsh chemicals, and aggressive scrubbing.
The finish on the wood provides protection, but that does not mean the cabinet can be soaked or treated with every household degreaser.
Start with the cabinet manufacturer’s recommended cleaning method. When that information is unavailable, use a conservative approach: a slightly damp microfiber cloth and a mild cleaner that is appropriate for the finish.
Always follow the wood grain when wiping. This not only looks more natural while you’re cleaning but also reduces the chance of creating visible cleaning marks.
How To Style It
Use two cloths: one for cleaning and one for drying. Keep the first cloth damp rather than wet.
Clean one small section at a time. After wiping away grease, immediately dry the surface.
For detailed woodwork, use a soft brush to loosen debris before wiping. Avoid digging into decorative grooves with sharp tools.
Do not use furniture polish, oil, wax, or conditioning products unless your cabinet manufacturer recommends them. Adding an unapproved product can change the appearance of the finish or create a surface that attracts more dust.
If the wood looks dull after cleaning, resist the temptation to apply a random polish. First determine what type of finish the cabinets have and choose a compatible product.
7. Refresh Painted Cabinets
Quick Benefits
- Removes visible kitchen grime
- Helps preserve the painted surface
- Brightens frequently touched areas
- Reduces sticky residue
- Keeps the kitchen looking maintained
Why It Works
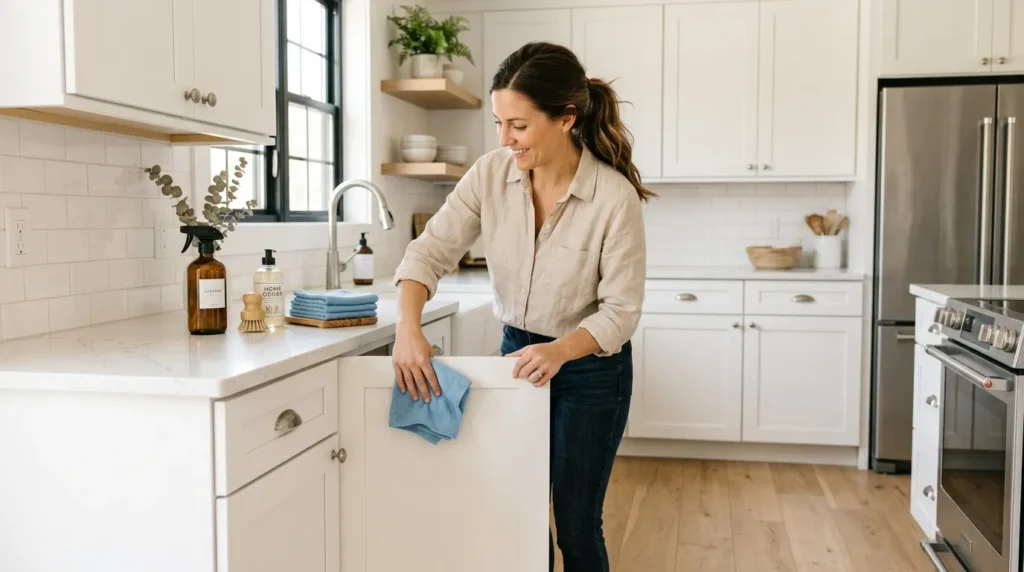
Painted cabinets can look dramatically different after grease is removed, particularly when the doors are white, cream, or another light color. However, painted surfaces can also be more vulnerable to scratching, discoloration, and finish damage.
Use gentle pressure and avoid abrasive sponges. A mild soap solution is often a safer starting point than a strong degreaser.
If the paint has already started peeling, cracking, or bubbling, cleaning may reveal the underlying problem rather than fix it. In those situations, avoid aggressive scrubbing and consider whether the surface needs repair.
The goal is to clean the existing finish, not strip it.
How To Style It
Test your cleaning solution on an inconspicuous area first. Allow the area to dry completely before judging the result.
Use a soft microfiber cloth and work in small sections. Pay attention to areas around handles, cabinet edges, and doors nearest the stove.
After cleaning, wipe away soap residue with a second damp cloth. Dry immediately.
If a painted surface feels unusually soft, sticky, or discolored, stop and reassess the cleaning product. Some finishes react poorly to particular chemicals.
For older painted cabinets, gentle cleaning repeated over time is generally preferable to one aggressive session.
8. Clean Cabinet Tops
Quick Benefits
- Removes years of hidden buildup
- Combines dust and grease removal
- Improves kitchen hygiene
- Reaches an often-forgotten area
- Helps prevent future accumulation
Why It Works
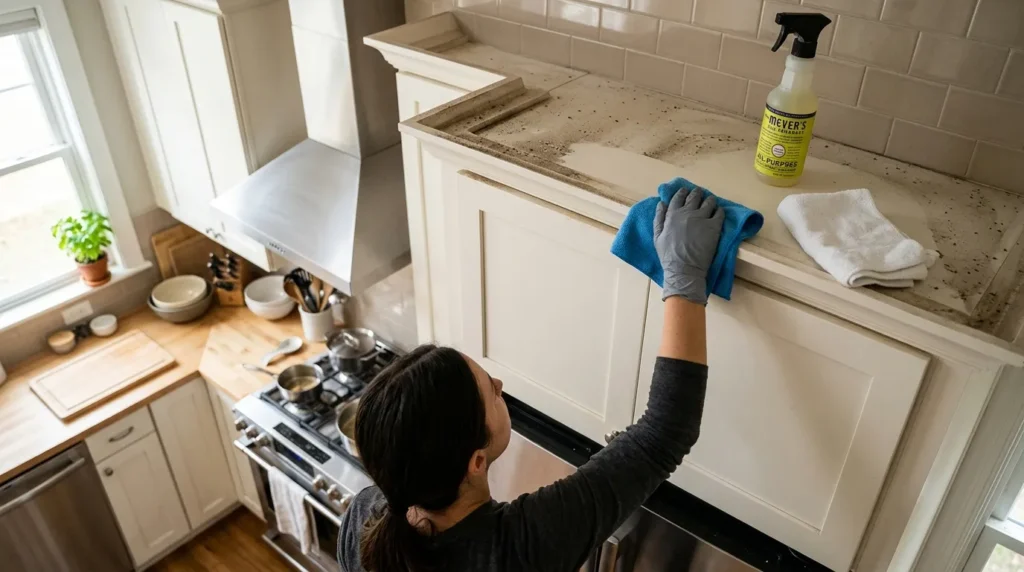
The tops of upper cabinets are among the most neglected surfaces in many kitchens. Because they are out of eye level, they can collect a surprisingly thick layer of dust.
In kitchens where cooking produces significant airborne grease, that dust can combine with oil and form a sticky coating that becomes increasingly difficult to remove.
Cleaning this area may take more effort than cleaning the cabinet doors, but it can make a major difference during a full kitchen deep clean.
Start by removing loose dust. Then use a cleaning solution suitable for the cabinet material, working carefully so liquid does not drip down the front or into cabinet seams.
How To Style It
Use a stable step stool and avoid leaning too far over the counter. If the cabinet tops are difficult to reach safely, ask another adult for assistance.
For heavy buildup, use several clean cloths rather than trying to clean an entire cabinet run with one greasy towel.
A scraper should only be used if the cabinet manufacturer specifically recommends it and the surface can tolerate it. In most cases, softening the residue with an appropriate cleaner is safer.
Once the grease is removed, dry the surface thoroughly.
For future maintenance, some homeowners choose to place removable protective liners or other appropriate barriers on cabinet tops. Check that anything you use does not create a fire hazard or interfere with ventilation around appliances.
9. Dry Everything Well
Quick Benefits
- Reduces moisture exposure
- Helps protect cabinet seams
- Prevents lingering cleaner residue
- Gives the finish a polished appearance
- Completes the cleaning process
Why It Works
Cleaning does not really finish when the grease disappears. Cabinets also need to be dried properly, especially when they contain wood or engineered wood materials.
Moisture left around seams, edges, hinges, and joints can gradually cause problems. Even durable finishes benefit from being wiped dry after cleaning.
Drying also removes any remaining moisture or cleaning solution that could otherwise leave streaks or residue.
This step takes very little time, but skipping it can undermine the careful work you’ve just completed.
How To Style It
Keep a clean, dry microfiber towel nearby throughout the project. After cleaning each cabinet section, make drying part of the same routine.
Open cabinet doors and inspect the inside edges. Wipe away any moisture that may have collected around the frame.
Check underneath handles and along the bottom edge of doors, where water can remain unnoticed.
Once the kitchen is dry, step back and look at the cabinets under natural light. This can reveal streaks or areas that still need a gentle second pass.
Don’t chase perfection with increasingly aggressive cleaners. A second mild cleaning is usually preferable to damaging the finish.
10. Prevent New Buildup
Quick Benefits
- Makes future cleaning faster
- Reduces sticky grease accumulation
- Protects cabinet finishes
- Keeps frequently touched areas cleaner
- Creates an easier kitchen routine
Why It Works
Once you’ve spent the time removing old grease, the last thing you want is to repeat the same difficult cleaning project a few months later.
The easiest solution is regular light maintenance. Wiping a small splash when it happens is much easier than removing a thick layer of dried grease later.
Pay particular attention to cabinets directly above and beside the cooking area. These surfaces receive more airborne oil than cabinets across the kitchen.
Your range hood also plays an important role. Using ventilation while cooking can help reduce the amount of airborne grease that settles on surrounding surfaces. Follow the hood manufacturer’s maintenance recommendations and keep filters clean as appropriate.
How To Style It
Create a simple weekly kitchen routine that includes wiping cabinet handles and the most frequently touched doors.
After cooking particularly greasy foods, inspect the cabinets near the stove. If you see splatters, wipe them once the surfaces have cooled and it is safe to clean them.
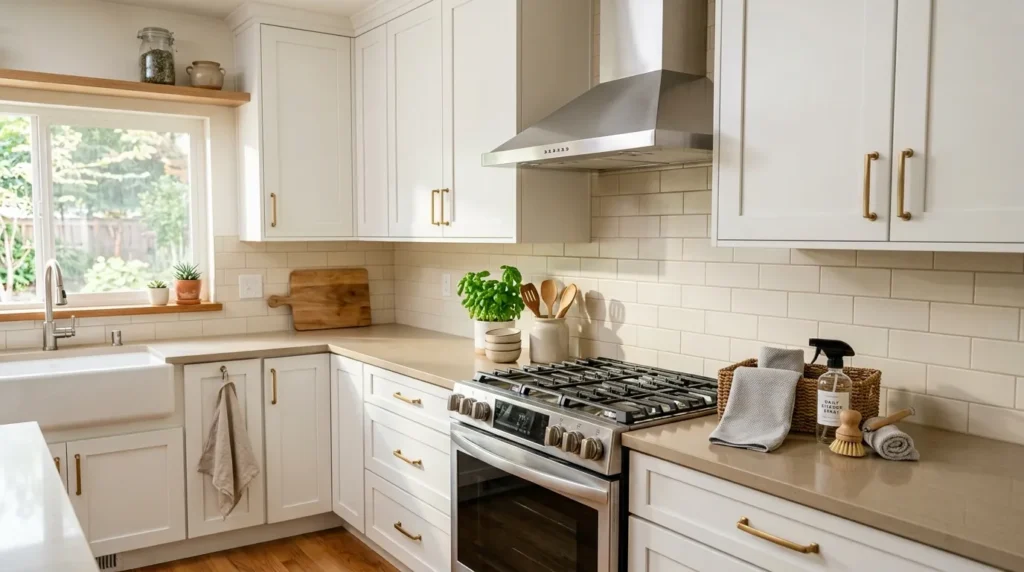
Keep a small basket or container with microfiber cloths in an accessible location so a quick wipe doesn’t require searching through a cleaning closet.
For households with children, you may also want to clean lower cabinet doors more frequently because fingerprints and food residue tend to accumulate there.
The goal isn’t to make cabinet cleaning another major chore. A few minutes of regular attention can prevent a future deep-cleaning session from becoming overwhelming.
Frequently Asked Questions
What is the best way to remove years of grease from kitchen cabinets?
Start with the mildest cleaning method that is compatible with your cabinet finish. Remove loose dust first, then use a damp microfiber cloth and a small amount of mild dish soap if appropriate. For thicker grease, allow a suitable cleaner to loosen the residue before wiping. Always test an unfamiliar product in a hidden area first.
Can you use Dawn dish soap on greasy kitchen cabinets?
A small amount of mild dish soap diluted in warm water can work well on many finished cabinet surfaces because dish soap is designed to cut through oils. However, cabinet finishes vary. Avoid soaking the surface, rinse away soap residue, dry the cabinets thoroughly, and check the manufacturer’s care instructions before using any cleaning product.
How do you clean sticky cabinets without damaging them?
Use gentle pressure and work in small sections. Begin with warm water or a mild soap solution appropriate for the cabinet material. Let the cleaner soften the residue instead of aggressively scrubbing. Avoid abrasive pads, harsh chemicals, and excessive water unless the cabinet manufacturer specifically recommends them.
How do you remove thick yellow grease from cabinets?
Thick yellow grease usually needs to be softened before it can be wiped away effectively. Use a cabinet-safe degreasing method recommended for your finish, working in small areas. Repeat gentle applications rather than scrubbing aggressively. If the finish becomes discolored, soft, or damaged, stop cleaning and reassess the product.
Is vinegar safe for kitchen cabinets?
Vinegar is not universally safe for every cabinet finish. While it is commonly recommended for household cleaning, acidic solutions can affect certain finishes, coatings, and materials. Check the cabinet manufacturer’s recommendations before using vinegar. When in doubt, a mild, manufacturer-approved cleaner is a safer choice.
How often should kitchen cabinets be cleaned?
Lightly wipe frequently touched cabinet doors and areas near the stove as needed. A more thorough cleaning can be scheduled periodically based on how much cooking your household does and how quickly grease accumulates. Kitchens that see frequent frying or high-heat cooking may require more frequent cabinet maintenance.
Why do kitchen cabinets get greasy so quickly?
Cooking creates airborne oil and steam that can settle on nearby surfaces. Frying and high-heat cooking can increase the amount of grease released into the surrounding air. Poor or infrequently used ventilation can also contribute to buildup. Regular range-hood use, filter maintenance, and quick cleanup of splatters can help reduce accumulation.
Conclusion
Old kitchen grease can make otherwise attractive cabinets look tired, sticky, and darker than they really are. Fortunately, you don’t always need expensive products or a major renovation to refresh them.
The most important thing is to match your cleaning method to the cabinet finish. Start gently, work in small sections, allow stubborn residue time to loosen, and avoid abrasive tools that can damage paint or protective coatings. Dish soap diluted with warm water can be a useful starting point for many finished surfaces, but manufacturer instructions should always come first.
Don’t overlook the details, either. Cabinet handles, edges, hinges, and the tops of upper cabinets can hold an impressive amount of buildup. Cleaning these areas is often what makes the entire kitchen feel noticeably fresher.
Once the old grease is gone, maintaining the cabinets becomes much easier. A quick wipe around the stove and handles can prevent small amounts of residue from turning into another major cleaning project.
Start with the cabinets that bother you most, rather than trying to clean the entire kitchen in one exhausting session. A few carefully cleaned doors can make an immediate difference, and you can gradually work through the rest.
Related Articles
- 10 Kitchen Cleaning Tips That Make Deep Cleaning Easier
- How to Deep Clean a Kitchen From Top to Bottom
- 15 Simple Kitchen Organization Ideas for Busy Homes
- How to Clean a Greasy Range Hood
- 10 Easy Home Cleaning Habits That Save Time