
10 DIY Home Insulation Ideas to Make Your Home More Comfortable
A drafty home can make winter mornings feel much colder than they need to be. You may turn up the thermostat, add another blanket, and still notice chilly floors, cold air around windows, or rooms that never seem to reach a comfortable temperature.
The good news is that some home insulation improvements are surprisingly approachable. You don’t always need to start with a major renovation. Sealing obvious air leaks, improving window coverings, insulating accessible pipes, and adding insulation in appropriate unfinished areas can make a noticeable difference in comfort.
The important distinction is between air sealing and insulating. Insulation slows heat transfer, while air sealing helps stop unwanted airflow. A well-planned project often uses both.
I’ve noticed that homeowners sometimes start by buying insulation without first figuring out where the home is actually losing heat. That can lead to wasted materials and effort. A better approach is to inspect the areas around windows, doors, attic access points, floors above unheated spaces, and other accessible locations before choosing a project.
Safety matters, too. Electrical wiring, recessed lights, combustion appliances, moisture problems, asbestos-containing materials, and inaccessible cavities can turn a seemingly simple DIY project into one that needs professional attention.
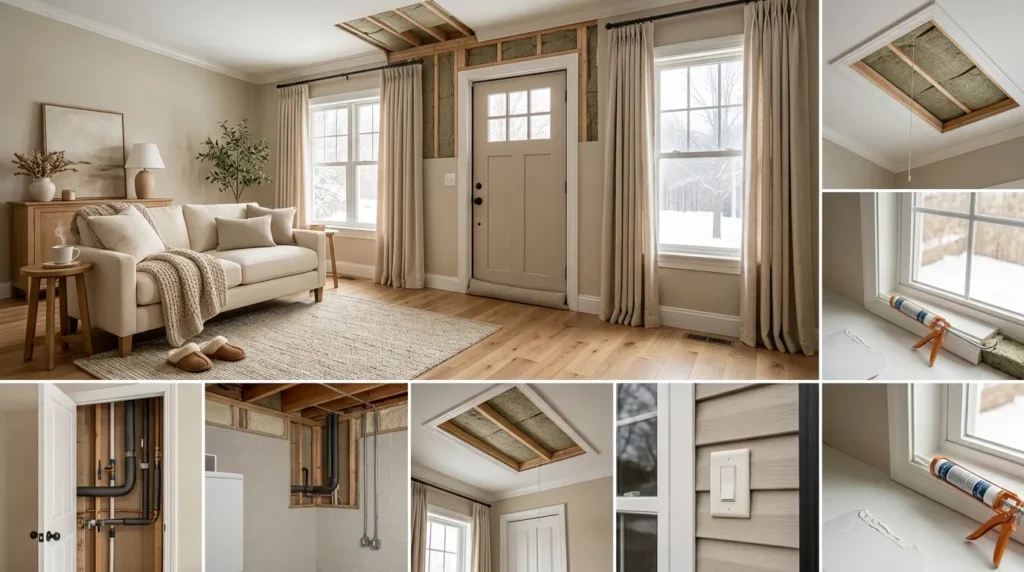
Below are 10 practical ideas ranging from easy weatherstripping projects to more substantial insulation upgrades. Choose the projects that match your home, climate, skill level, and local building requirements.
Table of Contents
1. Seal Drafty Doors
Use weatherstripping and door sweeps to reduce unwanted airflow around exterior doors.
2. Weatherstrip Windows
Improve comfort around movable windows by sealing common air-leak locations.
3. Insulate Attic Access
Reduce heat loss through a poorly sealed or uninsulated attic hatch.
4. Add Attic Insulation
Improve the thermal performance of an accessible unfinished attic when conditions are suitable.
5. Insulate Exposed Pipes
Protect accessible hot-water pipes while improving efficiency and reducing heat loss.
6. Seal Floor Gaps
Address drafts around accessible floor penetrations and gaps above unconditioned areas.
7. Insulate Basement Areas
Improve comfort around suitable basement walls, rim joists, and other accessible locations.
8. Cover Window Drafts
Use insulated curtains or temporary interior solutions to reduce the effect of cold glazing.
9. Seal Electrical Gaps
Reduce air leakage around accessible electrical penetrations using appropriate materials.
10. Insulate Garage Boundaries
Improve comfort in rooms next to an attached garage by addressing suitable shared boundaries.
1. Seal Drafty Doors
Quick Benefits
- Reduces noticeable drafts
- Easy beginner project
- Inexpensive materials
- Improves room comfort
- Can reduce unwanted air movement
Why It Works
Exterior doors can develop small gaps around their frames as materials age, settle, or become worn. Even a narrow opening can allow outside air to move into the home, particularly when there is a pressure difference between indoors and outdoors.
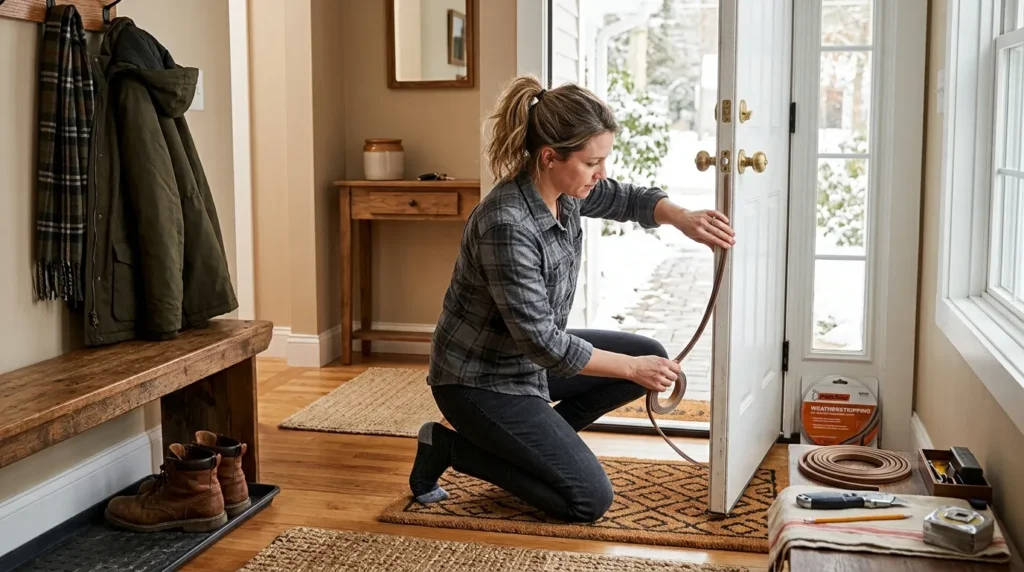
Weatherstripping creates a flexible seal between the door and frame, while a door sweep helps address the gap beneath the door.
This is one of the easiest places to start because you can often identify the problem simply by feeling for cold air around the perimeter.
How To Style It
Inspect the door frame and existing weatherstripping.
Replace cracked, compressed, or missing seals with a product designed for your door.
Measure carefully before purchasing replacement material.
For the bottom of the door, use a properly sized sweep that doesn’t interfere with opening and closing.
Check the latch after installation. The door should close securely without excessive force.
Avoid blocking drainage or ventilation features designed into exterior door systems.
2. Weatherstrip Windows
Quick Benefits
- Helps reduce drafts
- Improves comfort near windows
- Relatively inexpensive
- Useful in older homes
- Doesn’t require major renovation
Why It Works
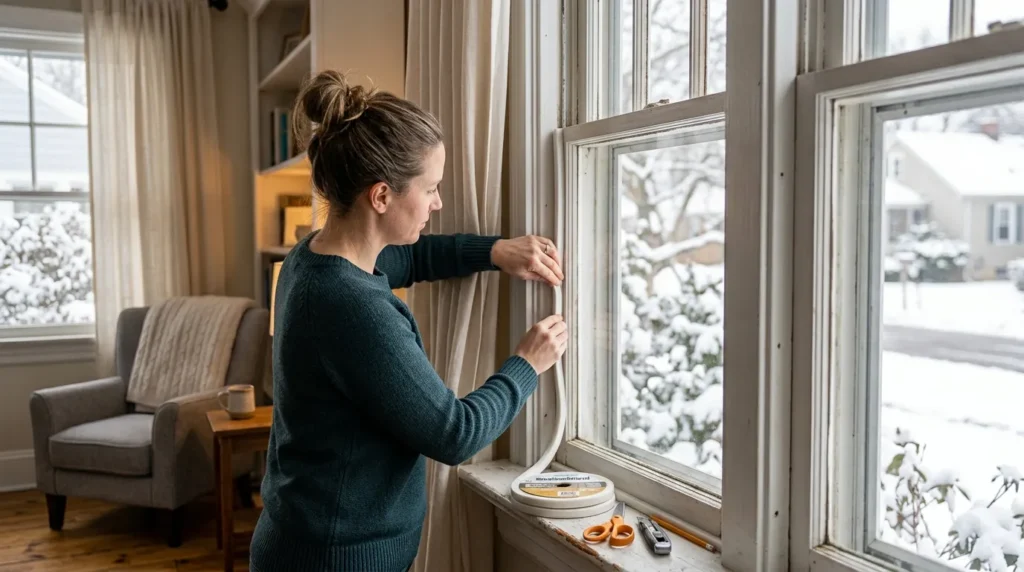
Older or frequently used windows can develop air leaks around movable sections and frames.
Weatherstripping helps close those gaps while allowing the window to continue operating normally.
Before adding material, determine whether the problem is actually air leakage. Cold glass itself can make a room feel chilly even when the window is reasonably well sealed.
A simple inspection can help identify where unwanted airflow is coming from.
How To Style It
Clean the window frame first.
Inspect existing seals for cracks or compression.
Choose weatherstripping appropriate for the window type and movement.
Apply it according to the manufacturer’s directions.
Don’t cover drainage paths or permanently seal a window that is intended to serve as an emergency escape route.
If the window remains cold despite good air sealing, consider insulated curtains or other appropriate window treatments.
3. Insulate Attic Access
Quick Benefits
- Addresses an often-overlooked area
- Relatively simple project
- Helps reduce air leakage
- Useful in unfinished attics
- Improves comfort below the hatch
Why It Works
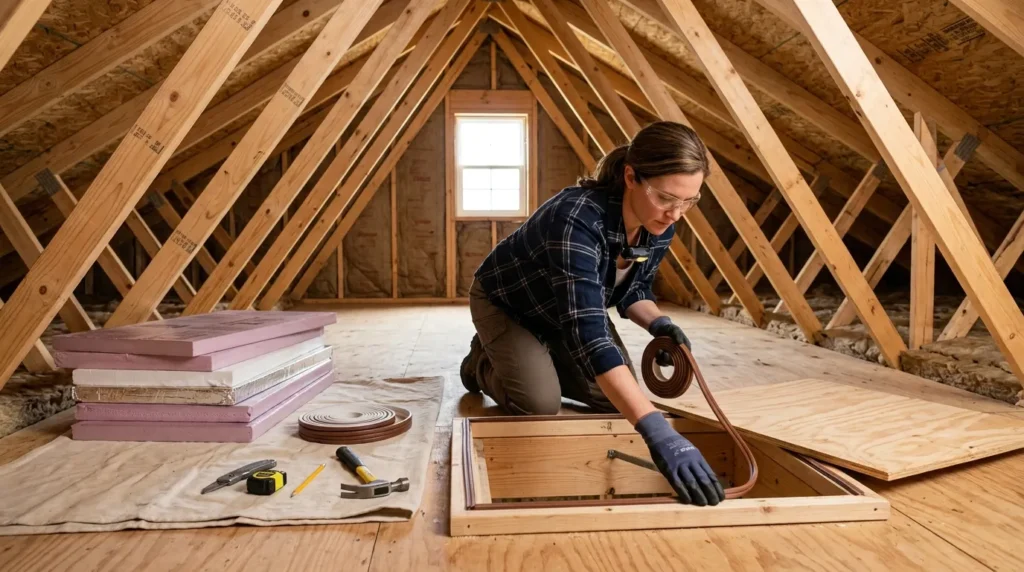
An attic hatch can act like a weak point in the thermal envelope.
If the opening isn’t properly sealed and insulated, conditioned air can escape into the attic while outdoor temperatures influence the room below.
A well-fitting hatch with appropriate insulation and air sealing can improve the overall performance of the ceiling assembly.
How To Style It
Inspect the hatch and surrounding frame.
Add appropriate weatherstripping around the opening where the hatch meets the frame.
For a suitable non-living attic space, an insulation board or other approved insulation solution can be attached to the hatch according to the product instructions.
Make sure the hatch remains accessible.
Do not obstruct required attic ventilation.
Also check whether the attic has moisture or ventilation problems before adding insulation.
4. Add Attic Insulation
Quick Benefits
- Can improve year-round comfort
- Reduces heat transfer
- Useful in unfinished attics
- May improve energy efficiency
- Can be a high-impact upgrade
Why It Works
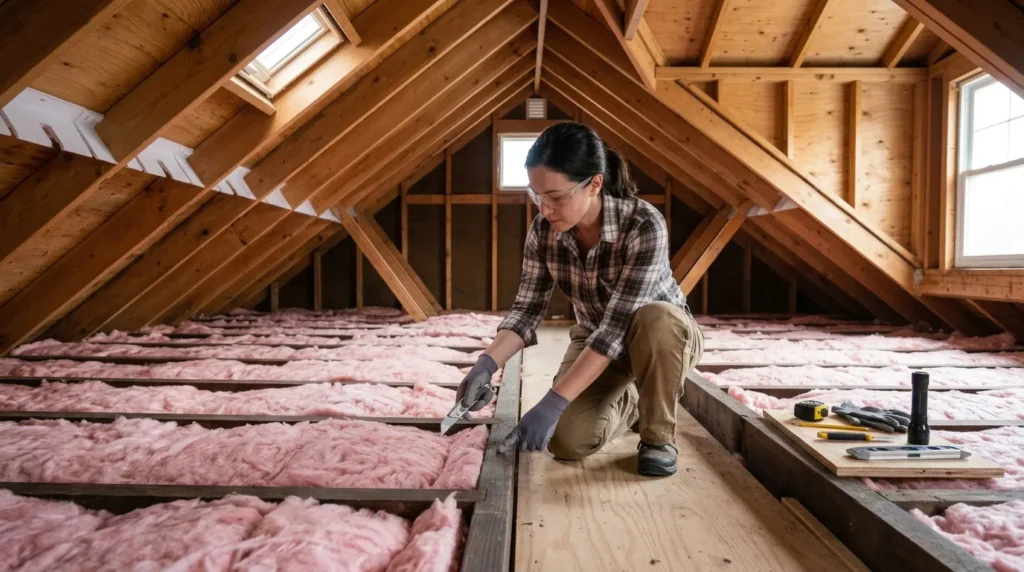
Because warm air rises and attics are directly exposed to outdoor temperature changes, the ceiling between living space and attic can be an important part of a home’s thermal envelope.
Adding insulation to an unfinished attic can slow heat transfer between the living area and attic.
However, simply adding more insulation isn’t always the answer. Air sealing, moisture management, ventilation, and existing insulation condition should be considered first.
How To Style It
Start by inspecting the attic carefully.
Look for moisture damage, mold, roof leaks, recessed lights, wiring, ducts, and ventilation pathways.
Seal appropriate air leaks before installing additional insulation.
Choose an insulation type and R-value appropriate for your climate and assembly.
Never cover equipment or fixtures unless the product and local requirements specifically allow it.
If you encounter vermiculite insulation, suspected asbestos-containing material, major moisture problems, or complex electrical conditions, stop and get qualified professional advice.
5. Insulate Exposed Pipes
Quick Benefits
- Helps reduce heat loss from hot-water pipes
- Protects exposed piping
- Relatively easy to install
- Useful in unfinished spaces
- Can improve hot-water delivery
Why It Works
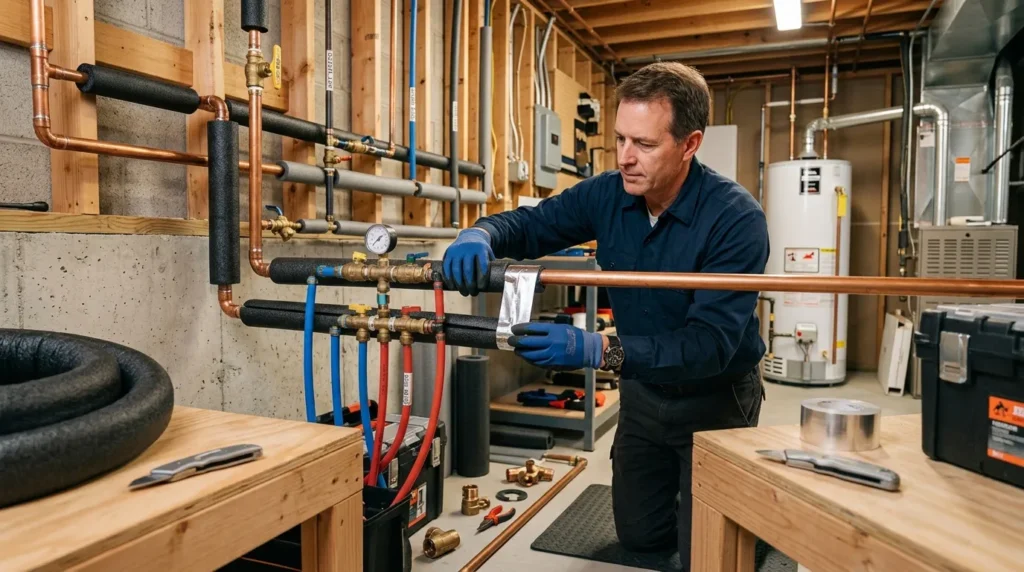
Hot-water pipes lose heat as water travels from the water heater toward fixtures.
Insulating accessible hot-water pipes can slow that heat loss.
This is particularly useful in unheated basements, garages, crawlspaces, or utility areas where pipes are exposed to colder surroundings.
Pipe insulation can also help protect vulnerable pipes from cold conditions, although it should not be treated as a complete substitute for proper freeze protection.
How To Style It
Measure the pipe diameter before purchasing insulation.
Use insulation specifically designed for the pipe and temperature conditions.
Cut sections cleanly and fit them snugly around accessible piping.
Follow the product’s clearance requirements around heat-producing equipment.
Do not place combustible insulation where it could contact a hot flue, exhaust pipe, or other high-temperature surface.
6. Seal Floor Gaps
Quick Benefits
- Helps reduce drafts
- Useful above unheated spaces
- Improves room comfort
- Addresses hidden air leaks
- Can complement floor insulation
Why It Works
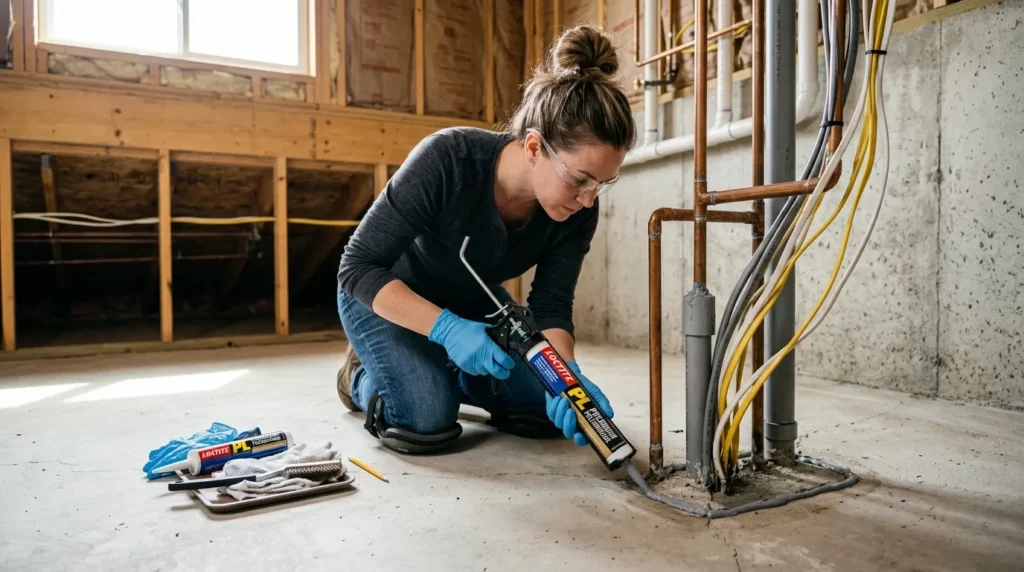
Floors above basements, crawlspaces, garages, and other unconditioned areas can contain small openings around plumbing, wiring, ducts, and other penetrations.
These openings can allow air movement between conditioned and unconditioned spaces.
Sealing appropriate gaps can therefore be an important part of improving the home’s air barrier.
How To Style It
Inspect accessible areas from the basement, crawlspace, or other suitable location.
Look around plumbing penetrations, wiring openings, ductwork, and framing joints.
Use an appropriate sealant or expanding foam product based on the size and location of the opening.
Keep foam away from heat-producing equipment and follow all product instructions.
For larger structural gaps or areas involving fire-rated assemblies, use materials approved for that specific application.
7. Insulate Basement Areas
Quick Benefits
- Can improve lower-level comfort
- Reduces heat transfer
- Helps address cold surfaces
- Useful in unfinished basements
- Can complement air sealing
Why It Works
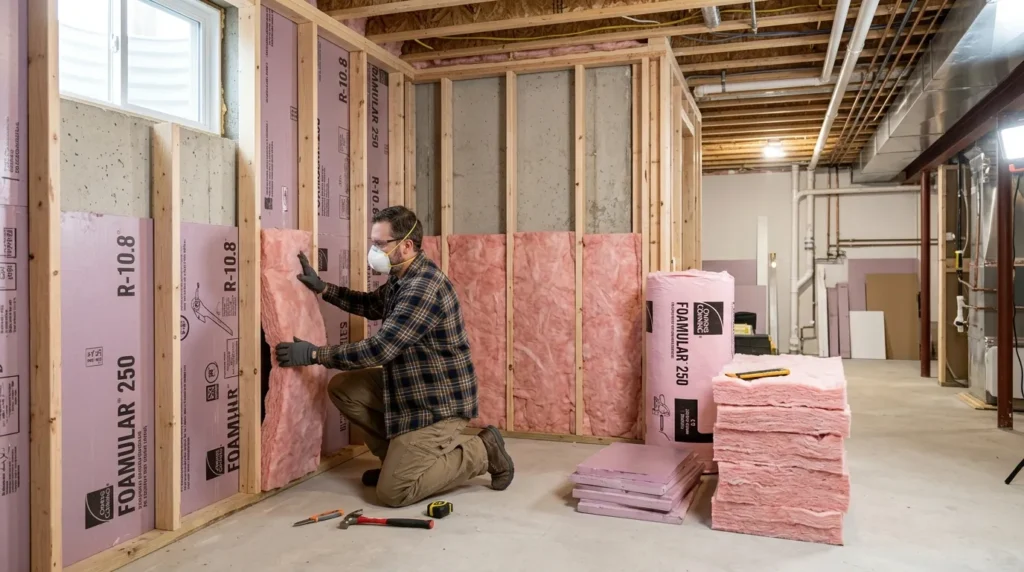
Basement walls and rim joists can be significant sources of heat transfer, particularly in colder climates.
The correct insulation strategy depends heavily on the construction, moisture conditions, climate, and whether the basement is conditioned.
Moisture management should come first.
Adding insulation over a persistent water problem can hide damage and create bigger problems later.
How To Style It
Inspect basement walls and rim joists for moisture.
Address leaks, condensation, or drainage problems first.
For appropriate assemblies, rigid foam, spray foam, mineral wool, or other insulation systems may be used depending on the location and local requirements.
Follow fire-safety requirements for exposed foam products.
Do not block required ventilation or access to mechanical equipment.
For complex foundation conditions, professional assessment is worthwhile.
8. Cover Window Drafts

Quick Benefits
- Easy seasonal improvement
- Adds visual warmth
- Can reduce radiant heat loss
- Useful for renters
- No major construction required
Why It Works
Windows can remain a source of discomfort even when they aren’t leaking significant amounts of air.
Cold interior glass can make people sitting nearby feel chilly.
Insulated curtains, cellular shades, and other properly fitted window treatments can reduce the exchange of heat at the window surface.
They don’t replace proper wall or window insulation, but they can complement other improvements.
How To Style It
Choose full-length insulated curtains for living rooms and bedrooms.
Mount the rod high enough to create a finished appearance.
Use curtains wide enough to cover the window completely when closed.
For a cleaner look, pair them with simple shades.
In rental homes, removable thermal window treatments can be a practical option.
Keep curtains and shades clear of heaters, radiators, and other heat-producing equipment.
9. Seal Electrical Gaps
Quick Benefits
- Addresses hidden air leakage
- Useful around accessible penetrations
- Supports whole-home air sealing
- Can improve comfort
- Works alongside other upgrades
Why It Works
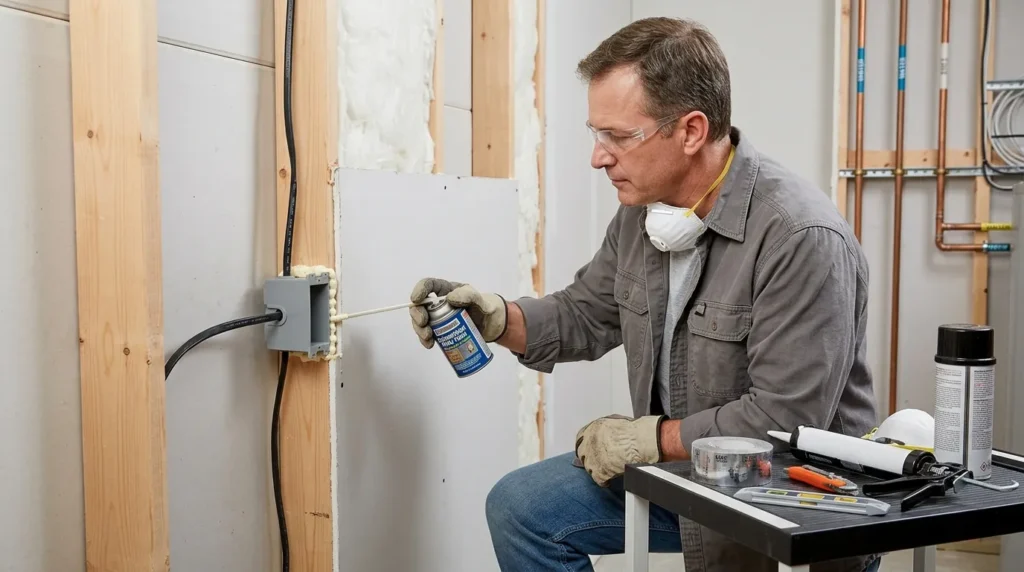
Electrical penetrations through walls and ceilings can create small pathways for air movement.
The issue is particularly relevant when electrical boxes or wiring penetrate the boundary between conditioned and unconditioned spaces.
These gaps can be small individually but may add up throughout a home.
Because electrical components are involved, caution is essential.
How To Style It
Only work on areas that are safely accessible.
Turn off power at the appropriate circuit before working near electrical components.
Use products specifically rated for the intended application.
Do not spray expanding foam inside electrical boxes unless the product is specifically designed and approved for that use.
Never disturb damaged wiring.
If you aren’t comfortable identifying electrical components or working safely around them, hire a qualified electrician.
10. Insulate Garage Boundaries
Quick Benefits
- Helps rooms beside garages feel more comfortable
- Reduces heat transfer
- Addresses an important boundary
- Useful in attached homes
- Can complement air sealing
Why It Works
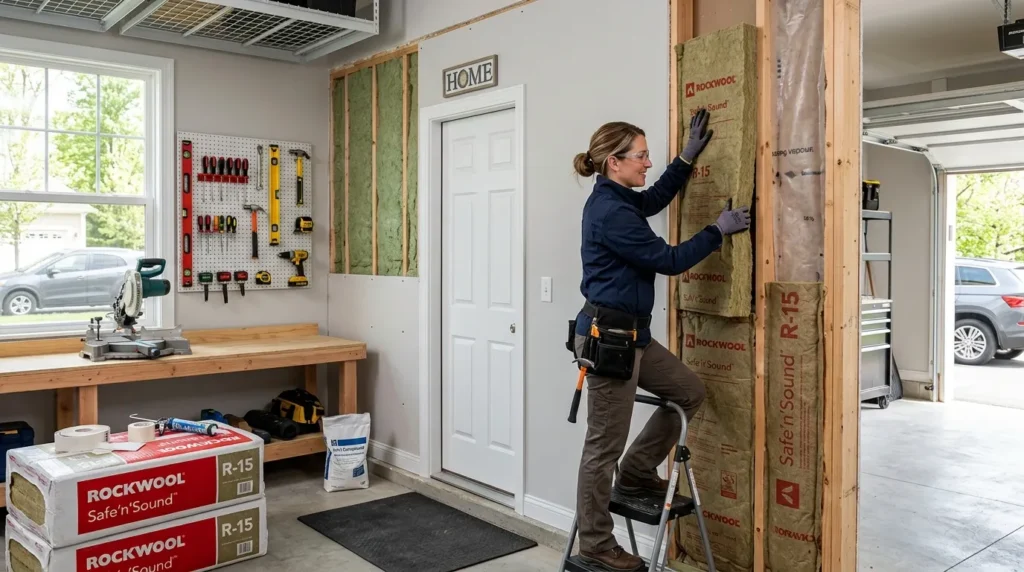
An attached garage can be much colder or hotter than the living space next to it.
The wall, ceiling, door, and penetrations separating the garage from conditioned rooms therefore deserve attention.
The goal isn’t simply to make the garage comfortable.
Instead, you’re improving the separation between the unconditioned garage and the home’s conditioned space.
How To Style It
Inspect the shared wall and ceiling from accessible areas.
Look for obvious gaps around plumbing, wiring, framing, and other penetrations.
Use appropriate air-sealing materials.
If additional insulation is needed, choose a system compatible with the existing wall assembly.
Pay close attention to fire separation requirements between garages and living spaces.
Never compromise a required fire-rated assembly by using an inappropriate material or leaving penetrations unprotected.
Where Should You Start?
If you’re new to home insulation projects, don’t start by tearing into walls.
Begin with a simple inspection.
Walk through the house on a cold or windy day and pay attention to:
- Exterior doors
- Windows
- Attic access
- Baseboards
- Floors above garages
- Basement areas
- Crawlspaces
- Plumbing penetrations
- Attic floor penetrations
A professional energy audit can provide a much more comprehensive picture and may identify opportunities you can’t easily see yourself.
For many homeowners, air sealing obvious leaks before adding insulation is a sensible starting point.
Insulation vs. Air Sealing
These terms are often used interchangeably, but they solve different problems.
Insulation slows heat transfer through materials.
Air sealing reduces uncontrolled movement of air through cracks and openings.
Imagine wearing a winter coat with several large openings around the zipper and sleeves. Adding more padding wouldn’t completely solve the problem because cold air could still enter.
A home works similarly.
That’s why a thoughtful improvement plan considers both the insulation layer and the air barrier.
Choosing Insulation Materials
Different materials are appropriate for different locations.
Fiberglass
Commonly used in attics, walls, and floors. Available in batts and loose-fill forms.
Mineral Wool
Offers good thermal performance and is known for its fire and sound characteristics.
Rigid Foam
Useful for certain walls, foundations, and other applications where a continuous insulation layer is beneficial.
Spray Foam
Can provide both insulation and air-sealing properties, but application requires careful attention to product specifications, safety, and building requirements.
Cellulose
Often used as loose-fill insulation in attics and some wall assemblies.
The right choice depends on the building assembly, climate, moisture conditions, and required R-value.
Important DIY Safety Tips
Insulation work can involve more than simply wearing gloves and filling a cavity.
Before starting:
- Wear appropriate protective equipment.
- Read the manufacturer’s instructions.
- Keep insulation away from heat-producing equipment unless specifically approved.
- Don’t block attic ventilation.
- Watch for exposed electrical wiring.
- Don’t cover recessed lights unless the fixture is rated for insulation contact.
- Address roof or plumbing leaks before insulating.
- Be cautious around older insulation that may contain hazardous materials.
- Maintain required fire-rated assemblies.
- Use fall protection when working in elevated areas.
- Keep children and pets away from active work areas.
If you discover suspected asbestos, extensive mold, major water damage, structural problems, or complicated electrical or HVAC conditions, stop the DIY project and consult an appropriately qualified professional.
FAQ
What is the easiest DIY home insulation project?
Sealing gaps around exterior doors is usually one of the most approachable projects. Weatherstripping and door sweeps can address common drafts without opening walls. Sealing appropriate attic access points and adding properly fitted window treatments are also relatively simple improvements.
Should I air seal before adding insulation?
In many situations, yes. Air sealing and insulation perform different functions, and uncontrolled airflow can reduce the effectiveness of an insulation strategy. However, the exact sequence depends on the building assembly and location. Attics, walls, basements, and crawlspaces can have different requirements.
How can I tell where my house is losing heat?
Look for drafts around doors and windows, cold surfaces, uneven room temperatures, and areas above garages, crawlspaces, or unfinished basements. A professional energy audit can provide a more complete assessment and may use diagnostic tools to identify air leakage and insulation deficiencies.
Is DIY attic insulation safe?
It can be, but attic work has important hazards. You may encounter electrical wiring, hot equipment, recessed lights, unstable surfaces, moisture damage, or hazardous existing insulation. Follow local requirements and product instructions, and get professional help when conditions are uncertain.
Can curtains insulate windows?
Insulated curtains and cellular shades can reduce heat transfer and improve comfort near windows, but they aren’t a replacement for proper window construction or air sealing. They work best as one part of a broader approach to improving a home’s thermal comfort.
Should I insulate pipes in my house?
Insulating accessible hot-water pipes can reduce heat loss and may help hot water retain heat as it travels to fixtures. Pipe insulation can also provide some protection in cold areas, but vulnerable plumbing may require additional freeze-protection measures.
How much insulation does my attic need?
The appropriate insulation level depends on your climate, existing insulation, attic assembly, and applicable building or energy standards. Rather than choosing a thickness based on a generic recommendation, determine the target R-value for your location and assembly and make sure ventilation and air sealing are addressed appropriately.
Conclusion
Improving your home’s insulation doesn’t have to begin with a massive renovation.
Small projects such as sealing drafty doors, weatherstripping windows, insulating exposed hot-water pipes, and improving an attic hatch can be accessible starting points. Larger projects, including attic, basement, floor, or garage-boundary insulation, can have a bigger impact but require more careful planning.
The most important lesson is to understand where your home is losing heat before buying materials.
Look for air leaks, inspect accessible areas, consider moisture conditions, and understand what you’re working around. Insulation is most effective when it becomes part of a complete thermal and air barrier rather than simply being added wherever there is empty space.
And don’t feel pressured to do every project yourself. Electrical work, hazardous existing insulation, complicated attic conditions, structural problems, and moisture issues are good reasons to bring in a qualified professional.
Start with the simplest safe improvement you can identify. Once that project is complete, reassess the home’s comfort and move on to the next priority.
A warmer, more comfortable home is usually built through a series of thoughtful improvements—not one giant project.
Related Articles
- 10 Ways to Make Your Home Feel Warmer in Winter
- 10 Cozy Winter Home Ideas for a More Comfortable Space
- 10 Small Bedroom Ideas That Feel Warm and Inviting
- 10 Energy-Efficient Home Improvements Worth Considering
- 10 DIY Home Improvement Projects for Beginners